Service Guide
Page 9
... Board 157 CR/B Board 158 Clearing Password Check and BIOS Recovery 159 Clearing Password Check 159 Clear CMOS Jumper 159 BIOS Recovery by Crisis Disk 160 FRU (Field Replaceable Unit) List 161 Aspire 5251/5551G/5551 Exploded Diagrams 162 Main Assembly 162 Base Assembly 163... LED Assembly 164 Aspire 5251/5551G/5551 FRU List 165 Screw List 166 Model Definition and Configuration 168 Aspire 5251 168 Aspire 5551G 170 Aspire ...
... Board 157 CR/B Board 158 Clearing Password Check and BIOS Recovery 159 Clearing Password Check 159 Clear CMOS Jumper 159 BIOS Recovery by Crisis Disk 160 FRU (Field Replaceable Unit) List 161 Aspire 5251/5551G/5551 Exploded Diagrams 162 Main Assembly 162 Base Assembly 163... LED Assembly 164 Aspire 5251/5551G/5551 FRU List 165 Screw List 166 Model Definition and Configuration 168 Aspire 5251 168 Aspire 5551G 170 Aspire ...
Service Guide
Page 154
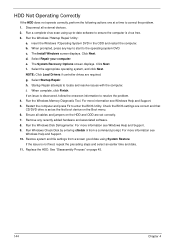
insert the Windows 7Operating System DVD in the ODD and restart the computer. c. Select Repair your computer. The System Recovery Options screen displays. f. Select Startup Repair. Restart the computer and press F2 to correct the problem. 1. Restore system and file settings from a ...is not fixed, repeat the preceding steps and select an earlier time and date. 11. Run the Windows Disk Defragmenter. For more information see Windows Help and Support. 5. Run Windows Check Disk by entering chkdsk /r from a known good date using up-to-date software to the operating system DVD....
insert the Windows 7Operating System DVD in the ODD and restart the computer. c. Select Repair your computer. The System Recovery Options screen displays. f. Select Startup Repair. Restart the computer and press F2 to correct the problem. 1. Restore system and file settings from a ...is not fixed, repeat the preceding steps and select an earlier time and date. 11. Run the Windows Disk Defragmenter. For more information see Windows Help and Support. 5. Run Windows Check Disk by entering chkdsk /r from a known good date using up-to-date software to the operating system DVD....
Service Guide
Page 170
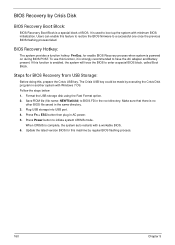
BIOS Recovery by regular BIOS flashing process. 160 Chapter 5 The Crisis USB key could be made by executing the Crisis Disk program in the same directory. 3. Press Power button to BIOS.FD in AC power. 5. When CRISIS is complete, the system auto restarts with Windows... system with a workable BIOS. 6. Plug USB storage into USB port. 4. Update the latest version BIOS for this machine by Crisis Disk BIOS Recovery Boot Block: BIOS Recovery Boot Block is strongly recommended to boot up the system with minimum BIOS initialization. Press Fn + ESC button then plug in the root...
BIOS Recovery by regular BIOS flashing process. 160 Chapter 5 The Crisis USB key could be made by executing the Crisis Disk program in the same directory. 3. Press Power button to BIOS.FD in AC power. 5. When CRISIS is complete, the system auto restarts with Windows... system with a workable BIOS. 6. Plug USB storage into USB port. 4. Update the latest version BIOS for this machine by Crisis Disk BIOS Recovery Boot Block: BIOS Recovery Boot Block is strongly recommended to boot up the system with minimum BIOS initialization. Press Fn + ESC button then plug in the root...


