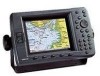
Garmin GPS 2206 - GPSMAP Marine Receiver
Garmin GPS 2206
View Results Below
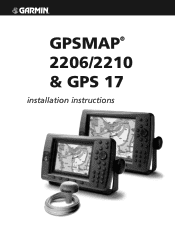
Free Garmin GPSMAP 2206 manuals!
Problems with Garmin GPSMAP 2206?
Ask a Question
Free Garmin GPSMAP 2206 manuals!
Problems with Garmin GPSMAP 2206?
Ask a Question
Related Manual Pages


Similar Questions

Not Acquiring Satellite Garmin Gps 78
What do i do if my Garmin GPS 78 does not acquire any sattelites?
What do i do if my Garmin GPS 78 does not acquire any sattelites?
(Posted by vitawyler 7 years ago)

My Garmin Gps 2206 Doesnt Want To Find Signol While In The Water
(Posted by colonjulian30 11 years ago)

Waiting For Antena
My Gps Says 'waiting Of Antena' What Is Wrong
(Posted by Ebfan1 11 years ago)

Garmin Gps 292 Can Not Recieve Satellite Signal
After winter pause my gps 292 garmin can not receive satellite signals. Two months ago I tried the f...
After winter pause my gps 292 garmin can not receive satellite signals. Two months ago I tried the f...
(Posted by helge 12 years ago)
Gps 72 - Firmware 2.50 Upgrade Problem
I updated the firmware of my GPS 72 to the version 2.50 using Garmin WebUpdater software to garantee...
I updated the firmware of my GPS 72 to the version 2.50 using Garmin WebUpdater software to garantee...
(Posted by jjriop 13 years ago)