User's Guide for Windows
Page 63
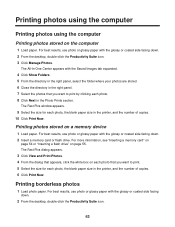
The Fast Pics window appears. 9 Select the size for each photo, the blank paper size in the printer, and the number of copies. 10 Click Print Now. For more information, see "Inserting a memory card" on page 54 or "Inserting a flash drive" on a memory device 1 Load paper. For best results, ...
The Fast Pics window appears. 9 Select the size for each photo, the blank paper size in the printer, and the number of copies. 10 Click Print Now. For more information, see "Inserting a memory card" on page 54 or "Inserting a flash drive" on a memory device 1 Load paper. For best results, ...
User's Guide for Windows
Page 72
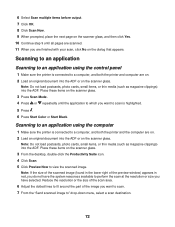
...to an application using the control panel 1 Make sure the printer is highlighted. 5 Press . 6 Press Start Color or Start Black. Note: If the size of the scanned image (found in red, you do not have ... of the scan area. 6 Adjust the dotted lines to fit around the part of the preview window) appears in the lower right of the image you are finished with your scan, click No on...Click Scan Now. 9 When prompted, place the next page on the scanner glass, and then click Yes. 10 Continue step 9 until the application to which you have the system resources available to perform the scan at the ...
...to an application using the control panel 1 Make sure the printer is highlighted. 5 Press . 6 Press Start Color or Start Black. Note: If the size of the scanned image (found in red, you do not have ... of the scan area. 6 Adjust the dotted lines to fit around the part of the preview window) appears in the lower right of the image you are finished with your scan, click No on...Click Scan Now. 9 When prompted, place the next page on the scanner glass, and then click Yes. 10 Continue step 9 until the application to which you have the system resources available to perform the scan at the ...


