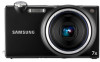
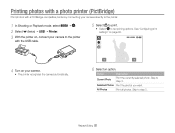
Samsung CL80 Usb Cable
Related Manual Pages


Similar Questions

Cable Usb
Dear Sirs: My name is Vivi and I am from Chile. My email is [email protected] I would appreciat...
Dear Sirs: My name is Vivi and I am from Chile. My email is [email protected] I would appreciat...
(Posted by vilorenss 7 years ago)


Usb Cable
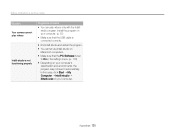
it has a white and yellow plug to plug into your computer but were does it go
it has a white and yellow plug to plug into your computer but were does it go
(Posted by thegardenmower 12 years ago)