T240 Settings - Samsung SyncMaster 24 LCD Monitor
T240 Settings
Related Manual Pages


Similar Questions

How Do You Reset Factory Settings
(Posted by dennisgraham1948 3 years ago)

Setting Problem
plz send the detail setting we have to set in our system.we are unable to set the setting.so pz send...
plz send the detail setting we have to set in our system.we are unable to set the setting.so pz send...
(Posted by soumyajeetrath 10 years ago)

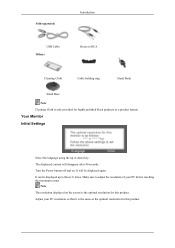
Initial Settings
The initial setting display appeared 3 times before I had a chance to set it. How do I get it back?
The initial setting display appeared 3 times before I had a chance to set it. How do I get it back?
(Posted by Anonymous-38287 12 years ago)