User's Guide
Page 22
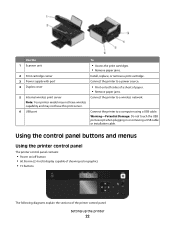
...sheet of the printer control panel: Setting up the printer 22 Use the To 1 Scanner unit • Access the print cartridges. • Remove paper jams. 2 Print cartridge carrier Install, replace, or remove a print cartridge. 3 Power supply with port Connect the printer to a power source. 4 ...Duplex cover • Print on /off button • 60.96 mm (2.4 inch) display capable of showing color graphics • 15 buttons The following diagrams explain the sections of paper. • Remove paper jams. 5 Internal wireless print server Connect the printer to a wireless network.
...sheet of the printer control panel: Setting up the printer 22 Use the To 1 Scanner unit • Access the print cartridges. • Remove paper jams. 2 Print cartridge carrier Install, replace, or remove a print cartridge. 3 Power supply with port Connect the printer to a power source. 4 ...Duplex cover • Print on /off button • 60.96 mm (2.4 inch) display capable of showing color graphics • 15 buttons The following diagrams explain the sections of paper. • Remove paper jams. 5 Internal wireless print server Connect the printer to a wireless network.
User's Guide
Page 54
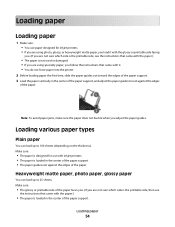
... against the edges of the paper. Loading paper Loading paper 1 Make sure: • You use with inkjet printers. • The paper is loaded in the center of the paper support. Heavyweight matte paper, photo paper, glossy paper You can load up to 100 sheets (depending on the thickness). Note: To avoid paper jams, make sure the paper does not buckle when you...
... against the edges of the paper. Loading paper Loading paper 1 Make sure: • You use with inkjet printers. • The paper is loaded in the center of the paper support. Heavyweight matte paper, photo paper, glossy paper You can load up to 100 sheets (depending on the thickness). Note: To avoid paper jams, make sure the paper does not buckle when you...
User's Guide
Page 55
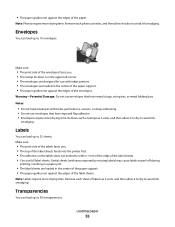
... photo as it exits, and then allow it to dry to peel off during printing, resulting in a paper jam. • The label sheets are loaded in the center of the paper support. • The paper guides rest against the edges of the label sheets. Notes: • Do not load envelopes with areas... within 1 mm of the edge of the label sheets. • You use with inkjet printers. • The envelopes are loaded in the center of the paper support. • The paper guides rest against the edges of the paper. Loading paper 55 Make sure: • The print side of the envelopes faces you . •...
... photo as it exits, and then allow it to dry to peel off during printing, resulting in a paper jam. • The label sheets are loaded in the center of the paper support. • The paper guides rest against the edges of the label sheets. Notes: • Do not load envelopes with areas... within 1 mm of the edge of the label sheets. • You use with inkjet printers. • The envelopes are loaded in the center of the paper support. • The paper guides rest against the edges of the paper. Loading paper 55 Make sure: • The print side of the envelopes faces you . •...
User's Guide
Page 67
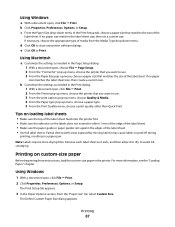
... size of the label sheet feeds into the printer first. • Make sure the adhesive on custom-size paper Before beginning these instructions, load the custom-size paper in a paper jam. Using Macintosh a Customize the settings as needed in the Page Setup dialog. 1 With a document open ,... click File ª Print. 2 From the Printer pop-up menu, choose a paper type. 5 From the Print Quality menu, choose a...
... size of the label sheet feeds into the printer first. • Make sure the adhesive on custom-size paper Before beginning these instructions, load the custom-size paper in a paper jam. Using Macintosh a Customize the settings as needed in the Page Setup dialog. 1 With a document open ,... click File ª Print. 2 From the Printer pop-up menu, choose a paper type. 5 From the Print Quality menu, choose a...


