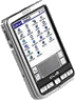
Sony PEG SJ22 Usb Cable - Personal Entertainment Organizer
Sony PEG SJ22 Usb Cable
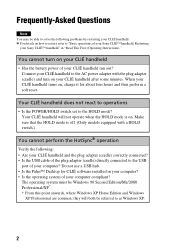
Related Manual Pages


Similar Questions

Reader Down Load
I have an apple with El Captain installed. Computer doesn'trecognize USB cable being hooked up? Is t...
I have an apple with El Captain installed. Computer doesn'trecognize USB cable being hooked up? Is t...
(Posted by sew1375what 8 years ago)

How Much Is A Power Cable? Or A Pc Cable? What Is The Price ?
I lost my cables for this unit peg-sj33/u power dc 5.2v 800ma ?
I lost my cables for this unit peg-sj33/u power dc 5.2v 800ma ?
(Posted by sabbres 11 years ago)
Usb Connection Is Not Recognited. I Cannot Connect The E-book With The Computer.
(Posted by ferigoncio 11 years ago)