Lowrance EP-60R Fuel Flow Sensor Research
View Results Below
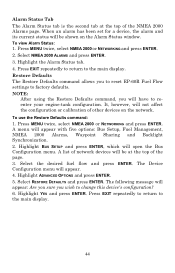
Free Lowrance EP-60R Fuel Flow Sensor manuals!
Problems with Lowrance EP-60R Fuel Flow Sensor?
Ask a Question
Free Lowrance EP-60R Fuel Flow Sensor manuals!
Problems with Lowrance EP-60R Fuel Flow Sensor?
Ask a Question
Related Manual Pages


Similar Questions

Installing Software Update 4.0
After downloading 4.0 software update on an SD card and inserting it, what step by step instructions...
After downloading 4.0 software update on an SD card and inserting it, what step by step instructions...
(Posted by capttonyanderson 11 months ago)

Fuel Flow Sensor Mounting
If the fuel flow sensor is installed to ensure flow in the direction of the arrow can it be mounted ...
If the fuel flow sensor is installed to ensure flow in the direction of the arrow can it be mounted ...
(Posted by ostermiller 3 years ago)

Lowerance X50 Ds Fish Finder
The x50 ds finder that I have the back up light no longer works.Is it still worth to have it fix or ...
The x50 ds finder that I have the back up light no longer works.Is it still worth to have it fix or ...
(Posted by ralphkaffine 7 years ago)