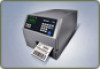
PX4i Ribbon - Intermec
PX4i Ribbon
Related Manual Pages
Related Videos

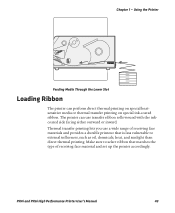
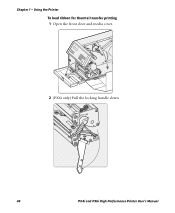
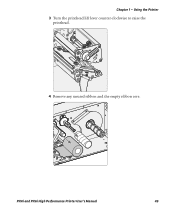
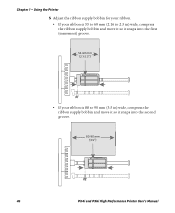
Intermec PX4i Ribbon and Label loading
Duration: 3:06
Total Views: 4,186
Duration: 3:06
Total Views: 4,186
?????????? ???????? Intermec PX4i & PX6i- Ribbon Loading
Duration: 3:48
Total Views: 38
Duration: 3:48
Total Views: 38
Intermec PX4i & PX6i Barkod Yaz?c? Ribon Tak?lmas? (PX4i & PX6i Ribbon Loading)
Duration: 3:48
Total Views: 0
Duration: 3:48
Total Views: 0
Similar Questions

Hello, I Have A Px4i Printer, I Cannot Get The Ribbon To Print Clear Labels.
The ribbons I have tried are Black FH wax/resin. I have tried 4 different types and get the same res...
The ribbons I have tried are Black FH wax/resin. I have tried 4 different types and get the same res...
(Posted by angel60329 2 years ago)

How Can I Fix Out Of Ribbon?
After 1 stamp always shows on screen out of ribbon!How can i fix?
After 1 stamp always shows on screen out of ribbon!How can i fix?
(Posted by nabin40 6 years ago)

Out Of Ribbon Error
we have pd42/pd43 printers with labels and direct transfer.We keep getting Out of ribbon error?
we have pd42/pd43 printers with labels and direct transfer.We keep getting Out of ribbon error?
(Posted by robmayhew 6 years ago)