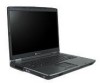
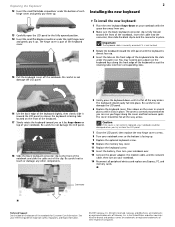
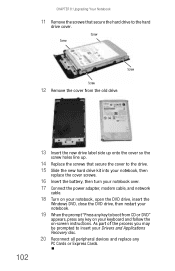
ML6732 Keyboard Cover - Gateway ML Pentium Dual Core 1 73 GHz
ML6732 Keyboard Cover
Related Manual Pages


Similar Questions


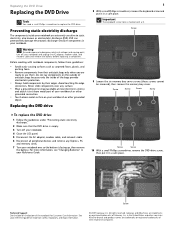
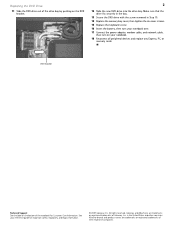
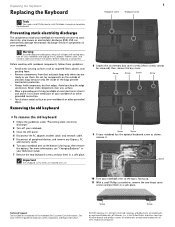
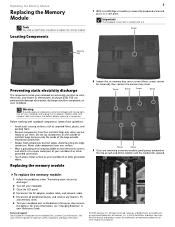
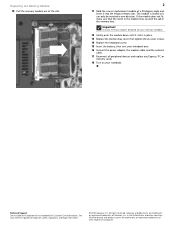
Diagram Of All Screws To Remove And Replace Keyboard
need to replace keyboard
need to replace keyboard
(Posted by Kasper 12 years ago)
M-6320 Keyboard Replacement
I hane ordered a replacement keyboard for my laptop and need directions to install new keyboard.
I hane ordered a replacement keyboard for my laptop and need directions to install new keyboard.
(Posted by flobo7240 13 years ago)