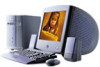
Sony PCV J150 Power Supply - Vaio Desktop Computer
Sony PCV J150 Power Supply
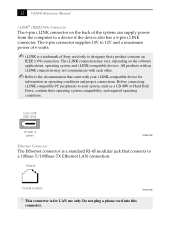
Related Manual Pages


Similar Questions

Is Upgrade To 400 W Power Supply Available?
(Posted by kkappagantula 11 years ago)

Is The Atx-300_12 Power Supply Compatible With Sony Pcv-w500gn1 Computer
(Posted by richard15523 12 years ago)

Vgc-ra8xx Series Power Supply
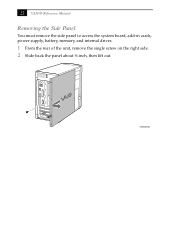
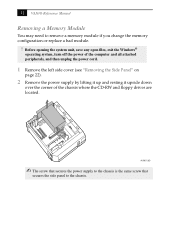
Replacement
replacing a power supply on VGC-RA8xx Series Hard Disk Drive Replacement VGC-RA826G
replacing a power supply on VGC-RA8xx Series Hard Disk Drive Replacement VGC-RA826G
(Posted by jcarana 12 years ago)