User Guide
Page 15
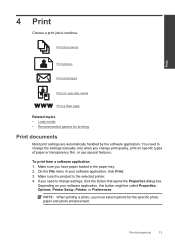
...your software application, click Print. 3. Make sure the product is the selected printer. 4. If you need to continue. Print documents 13 Print 4 Print Choose a print job to change the settings manually only when you have paper loaded in your software application, this button might be... called Properties, Options, Printer Setup, Printer, or Preferences. Depending on specific types of paper or transparency film, or use...
...your software application, click Print. 3. Make sure the product is the selected printer. 4. If you need to continue. Print documents 13 Print 4 Print Choose a print job to change the settings manually only when you have paper loaded in your software application, this button might be... called Properties, Options, Printer Setup, Printer, or Preferences. Depending on specific types of paper or transparency film, or use...
User Guide
Page 21
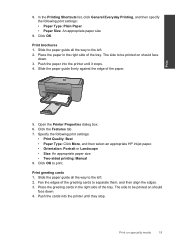
... print settings: • Print Quality: Best • Paper Type: Click More, and then select an appropriate HP inkjet paper. • Orientation: Portrait or Landscape • Size: An appropriate paper size • Two-sided printing: Manual 8. Slide the paper guide all the way to separate them, and then align the edges. 3. The side... paper guide firmly against the edge of the tray. Place the greeting cards in the right side of the paper. Push the paper into the printer until it stops. 4. Click OK to be printed on specialty media 19 8. Click the Features tab. 7.
... print settings: • Print Quality: Best • Paper Type: Click More, and then select an appropriate HP inkjet paper. • Orientation: Portrait or Landscape • Size: An appropriate paper size • Two-sided printing: Manual 8. Slide the paper guide all the way to separate them, and then align the edges. 3. The side... paper guide firmly against the edge of the tray. Place the greeting cards in the right side of the paper. Push the paper into the printer until it stops. 4. Click OK to be printed on specialty media 19 8. Click the Features tab. 7.
User Guide
Page 56
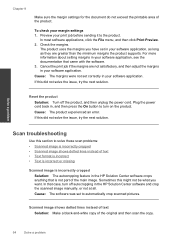
... the main image. If this did not solve the issue, try the next solution. Plug the power cord back in the HP Solution Center software and crop the scanned image manually, or not at all. Scan troubleshooting Use this might not be what you have set to the product. Cause: The software... do not exceed the printable area of the original and then scan the copy. 54 Solve a problem For more information about setting margins in the HP Solution Center software crops anything that case, turn on the product.
... the main image. If this did not solve the issue, try the next solution. Plug the power cord back in the HP Solution Center software and crop the scanned image manually, or not at all. Scan troubleshooting Use this might not be what you have set to the product. Cause: The software... do not exceed the printable area of the original and then scan the copy. 54 Solve a problem For more information about setting margins in the HP Solution Center software crops anything that case, turn on the product.


