250sears Recumbent Bike Seats - Schwinn 250 Sears
250sears Recumbent Bike Seats

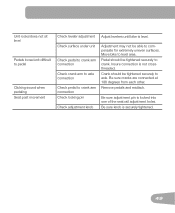
View Results Below
Free Schwinn 250 Sears Recumbent Bike manuals!
Problems with Schwinn 250 Sears Recumbent Bike?
Ask a Question
Free Schwinn 250 Sears Recumbent Bike manuals!
Problems with Schwinn 250 Sears Recumbent Bike?
Ask a Question
Related Manual Pages
Similar Questions

Schwinn Windjammer Wheels For The Seat Center Guide. All 4 Hav Broken The Plasi
The plastic on the metal wheels is broken off making the seat difficult to move front to back. I nee...
The plastic on the metal wheels is broken off making the seat difficult to move front to back. I nee...
(Posted by tommyturbost 3 years ago)

How Do You Move The Seat On A Recumbent 220 P Bike?
I just purchased a 220 P recumbent exercise bike and I would like to adjust the seat.
I just purchased a 220 P recumbent exercise bike and I would like to adjust the seat.
(Posted by keyloulou 5 years ago)

Schwinn Ad6 Seat Adjustment
How do I connect the seat, it is not tightening to the bar
How do I connect the seat, it is not tightening to the bar
(Posted by keb5 9 years ago)