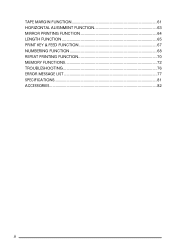
Tape For Pt-1800 - Brother International PT 1800 P Touch Thermal Transfer Printer
Tape For Pt-1800

View Results Below
Free Brother International PT 1800 manuals!
Problems with Brother International PT 1800?
Ask a Question
Free Brother International PT 1800 manuals!
Problems with Brother International PT 1800?
Ask a Question
Related Manual Pages


Similar Questions


Where Can I Purchase The M Tape For The Brother Handheld Home & Hobby Pt-65 ????
This is an old model and I don't know where to purchase the M Tape or how much it costs.
This is an old model and I don't know where to purchase the M Tape or how much it costs.
(Posted by kimybear33 12 years ago)
How Do I Shorten The Tab Length Of Tape?
(Posted by gwislow 13 years ago)

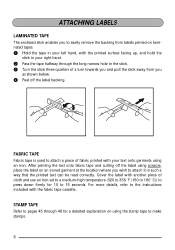
How Do You Replace The Tape?
I can't figure out how to put the new roll of tape in.
I can't figure out how to put the new roll of tape in.
(Posted by hobbsmegan 14 years ago)