


Ask a New Question
Use the box below to post a new question about Asus K30AD.
Manuals / Documents
Download any of our Asus K30AD manuals for free!
We have the following 1 documents available for the Asus K30AD:
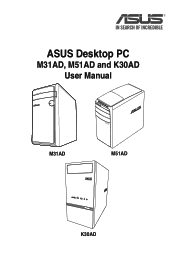
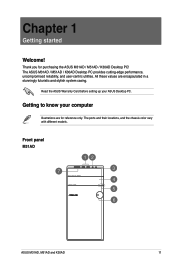
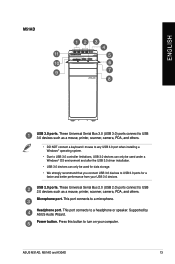
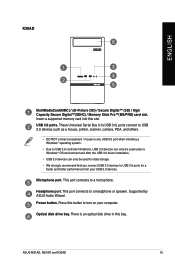
- M31AD_M51AD_K30AD User's Manual
Related Items
Points & Prizes
- You can earn points for nearly everything you do on HelpOwl.com
- You can trade in those points for gift cards at leading retailers such as Amazon.com and Walmart
- It's that simple!
Create a Free Account
Asus Manuals
Find free Asus K30AD manuals and user guides available at ManualOwl.com. Try out our unique manual viewer allowing you to interact with manuals from directly within your browser!
Asus Reviews
View thousands of Asus K30AD user reviews and customer ratings available at ReviewOwl.com.
Contact Information
Complete Asus customer service contact information including steps to reach representatives, hours of operation, customer support links and more from ContactHelp.com.
Scoreboard Ratings
See detailed Asus customer service rankings, employee comments and much more from our sister site.