Acer TravelMate P453-M Research
View Results Below
Free Acer TravelMate P453-M manuals!
Problems with Acer TravelMate P453-M?
Ask a Question
Free Acer TravelMate P453-M manuals!
Problems with Acer TravelMate P453-M?
Ask a Question
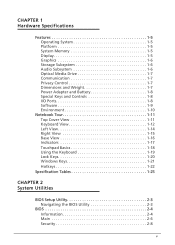
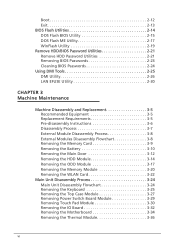
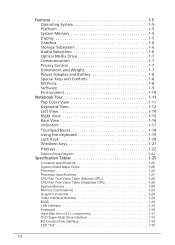
Related Manual Pages

Related Videos

Acer Travelmate P453 notebook bemutató videó | Tech2.hu
Duration: 2:00
Total Views: 536
Duration: 2:00
Total Views: 536
Similar Questions

Acer Aspire Es1-521 Error?
My Acer Aspire ES1-521 will try to auto repair but fail, I'd also try to factory preset the laptop b...
My Acer Aspire ES1-521 will try to auto repair but fail, I'd also try to factory preset the laptop b...
(Posted by slenderfreddy 7 years ago)

Is There A Manual Restore To Factory Settings Switch On An Acer Aspire 3680
(Posted by williamobrien631 10 years ago)

Acer 480 Model P4jl0 Laptop Bluetooth Not Working
The bottom of my laptop says that it included bluetooth module broadcom BCM92070MD. I can not figure...
The bottom of my laptop says that it included bluetooth module broadcom BCM92070MD. I can not figure...
(Posted by edh775 10 years ago)


How Can I Find Boot Device And Chnage It Into Optical Drive?
(Posted by lidylidi 11 years ago)