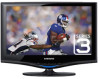
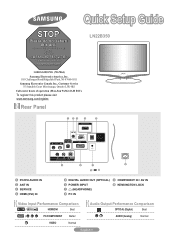
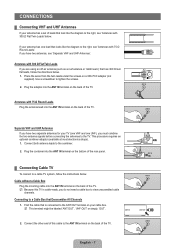
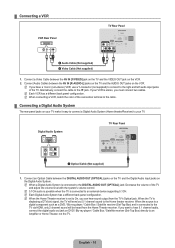
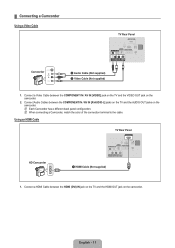
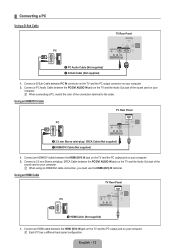
LN22B350 Rear Panel - Samsung
LN22B350 Rear Panel
Related Manual Pages


Similar Questions

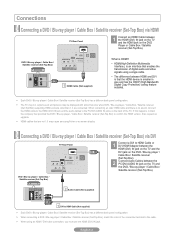
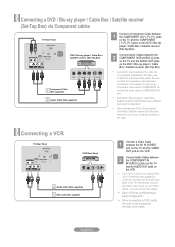
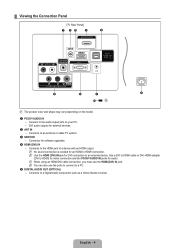
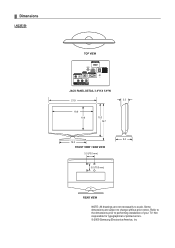
Jack Panel Detail/ Rear View
How could I get a cloise up view of the connections of the jack panels of the rear of the UN40D5500R...
How could I get a cloise up view of the connections of the jack panels of the rear of the UN40D5500R...
(Posted by bigdaddymerc 9 years ago)

Samsung Lnt-5271f Rear Panel Jacks Located Where
(Posted by Olivte 10 years ago)

1080p Resolution Format?
need to know if it has 1080p resolution format and if it has a HDMI cable connection on the back. i ...
need to know if it has 1080p resolution format and if it has a HDMI cable connection on the back. i ...
(Posted by lazydaiz 12 years ago)