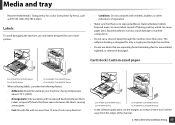
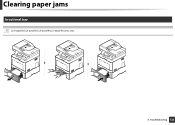
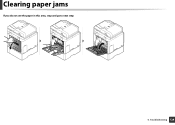
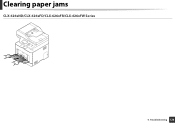
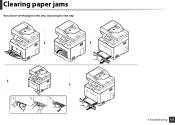
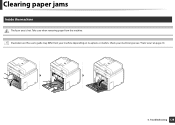
Samsung CLX-4195FW Paper Jam
View Results Below
Free Samsung CLX-4195FW manuals!
Problems with Samsung CLX-4195FW?
Ask a Question
Free Samsung CLX-4195FW manuals!
Problems with Samsung CLX-4195FW?
Ask a Question
Related Manual Pages


Similar Questions

Printer Seems To Work, But There Is No Print On Te Paper
Printer seems to work, but there is no print on te paper. The papers come out warm.
Printer seems to work, but there is no print on te paper. The papers come out warm.
(Posted by Hansvissers 1 year ago)

Paper Jam, But No Paper Jam!
My printer keeps saying paper jam, but there is none! If I open up the trays and put them back It wi...
My printer keeps saying paper jam, but there is none! If I open up the trays and put them back It wi...
(Posted by denise31568 6 years ago)

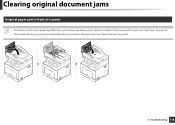
Samsung C1860fw Inside Paper Jam
I removed the paper jam, but it continues to jam. How do I solve this problem? This is a new printer...
I removed the paper jam, but it continues to jam. How do I solve this problem? This is a new printer...
(Posted by maggimccants 8 years ago)
Each Time When I Print , The Systom Come Up With An Error Message, Paper
Mismatch On Try1.. Can You Please Sort Out This For Me.
Mismatch On Try1.. Can You Please Sort Out This For Me.
(Posted by saran9677 11 years ago)
Paper Mismatch Tray 1
Each Time When I Print , The Systom Come Up With An Error Message, Paper Mismatch On Try1.. Can You ...
Each Time When I Print , The Systom Come Up With An Error Message, Paper Mismatch On Try1.. Can You ...
(Posted by godwin44825 11 years ago)