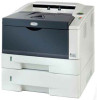
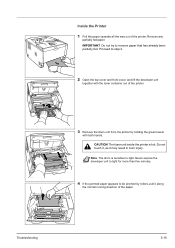
FS-1120D Drum Unit - Kyocera
FS-1120D Drum Unit
Related Manual Pages

Similar Questions

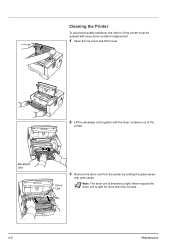
Kyocera Fs-1120d Attention Light On
FS-1120D attention light on, not printing anything.I've looked everywhere for paper jam. I have take...
FS-1120D attention light on, not printing anything.I've looked everywhere for paper jam. I have take...
(Posted by aygayg 1 year ago)

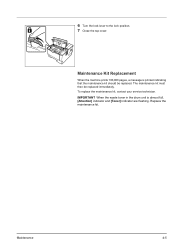
How Do You Replace Drum Unit On Kyocera 4200 Printer
(Posted by Garlandmcclure 9 years ago)

