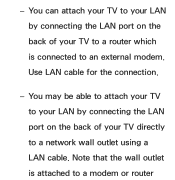
UN55ES6500F Cable - Samsung
UN55ES6500F Cable
View Results Below
Free Samsung UN55ES6500F manuals!
Problems with Samsung UN55ES6500F?
Ask a Question
Free Samsung UN55ES6500F manuals!
Problems with Samsung UN55ES6500F?
Ask a Question
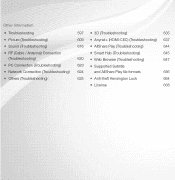
Related Manual Pages


Similar Questions

Component Cable Or Screens
My samsong tv has a screen isssue. While an xbox or a dvd player is plugged into my tv it sometimes ...
My samsong tv has a screen isssue. While an xbox or a dvd player is plugged into my tv it sometimes ...
(Posted by Matchauthon 12 years ago)

Component Cables
i connected my xbox360 with component cables to the tv and the picture is coming up black and white ...
i connected my xbox360 with component cables to the tv and the picture is coming up black and white ...
(Posted by mhegarty74 13 years ago)
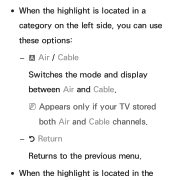
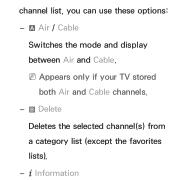
How To Select 1080 For Cable.
Only Shows 720p
(Posted by redbaron671 13 years ago)