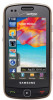
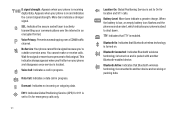
SCH U960 Battery - Samsung
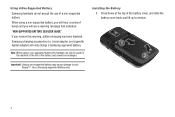
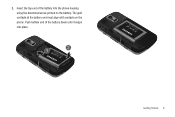
SCH U960 Battery
Related Manual Pages


Similar Questions


Battery Life
GOOD EVENIN I WAS IN A VERY IMPORTANT SCHOOL RELATED CELL PHONE CONVERSATION AND MY CALL AND PHONE J...
GOOD EVENIN I WAS IN A VERY IMPORTANT SCHOOL RELATED CELL PHONE CONVERSATION AND MY CALL AND PHONE J...
(Posted by susan14suzyq 11 years ago)