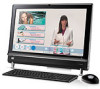
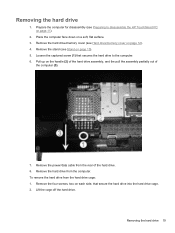
TouchSmart 9100 Hard Drive Removal - HP Business PC
TouchSmart 9100 Hard Drive Removal
View Results Below
Free HP TouchSmart 9100 manuals!
Problems with HP TouchSmart 9100?
Ask a Question
Free HP TouchSmart 9100 manuals!
Problems with HP TouchSmart 9100?
Ask a Question
Related Manual Pages


Similar Questions

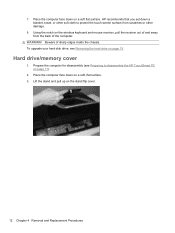
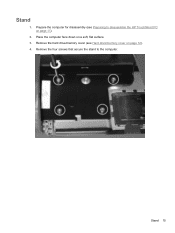
How To Open Computer To Get To Hard Drive
trying to change hard drive but can't figure out how to open the computer
trying to change hard drive but can't figure out how to open the computer
(Posted by sdoucet 3 years ago)

How To Remove Hard Drive Cover On 9100 Touchsmart
(Posted by jancami1 9 years ago)

How To Add Second Hard Drive To Hp Touchsmart 9100
(Posted by hbaq9fay 10 years ago)

What Hard Drive Does This Model Have From The Factory?
See Question title: What hard drive does this model have from the factory?
See Question title: What hard drive does this model have from the factory?
(Posted by Anonymous-44248 12 years ago)

Memory Card Reader
how do you remove a memory card from the memory card reader for hp touchsmart 9100 pc?
how do you remove a memory card from the memory card reader for hp touchsmart 9100 pc?
(Posted by lori76919 12 years ago)