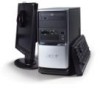
Aspire T650 Picture - Acer
Aspire T650 Picture
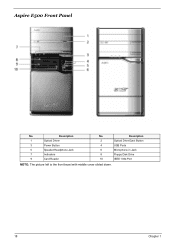
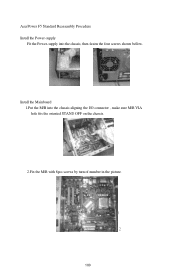
Related Manual Pages


Similar Questions

Where Is Located Cmos Battery In Veriton 1000 I Need Picture
(Posted by sajeeerkt 8 years ago)

How Do I Take A Picture With My Webcam For Acer Veriton Z290g
(Posted by GCHATfgf 10 years ago)

Hdmi Cable Set Up?? Have Wire No Picture. Pls Help Acer Aspire Z5801
hAVE PLUGGED IN BUT NO PICTURE WAS WONDERING IF THERE WERE OPTIONS TO SWITCH IT ON. MY OTHER ACER AU...
hAVE PLUGGED IN BUT NO PICTURE WAS WONDERING IF THERE WERE OPTIONS TO SWITCH IT ON. MY OTHER ACER AU...
(Posted by ryangallini 11 years ago)