User Guide
Page 2
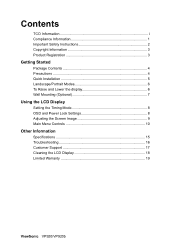
Contents TCO Information i Compliance Information 1 Important Safety Instructions 2 Copyright Information 3 Product Registration 3 Getting Started Package Contents 4 Precautions 4 Quick Installation 5 Landscape/Portrait Modes 6 To Raise and Lower the display 6 Wall Mounting (Optional 7 Using the LCD Display Setting the Timing Mode 8 OSD and Power Lock Settings 8 Adjusting the Screen Image 9 Main Menu Controls 10 Other Information Specifications 15 Troubleshooting 16 Customer Support 17 Cleaning the LCD Display 18 Limited Warranty 19 ViewSonic VP920/VP920b
Contents TCO Information i Compliance Information 1 Important Safety Instructions 2 Copyright Information 3 Product Registration 3 Getting Started Package Contents 4 Precautions 4 Quick Installation 5 Landscape/Portrait Modes 6 To Raise and Lower the display 6 Wall Mounting (Optional 7 Using the LCD Display Setting the Timing Mode 8 OSD and Power Lock Settings 8 Adjusting the Screen Image 9 Main Menu Controls 10 Other Information Specifications 15 Troubleshooting 16 Customer Support 17 Cleaning the LCD Display 18 Limited Warranty 19 ViewSonic VP920/VP920b

User Guide
Page 19
...screen image • Make sure the video cable supplied with the LCD display is tightly secured to verify that the outlet is supplying proper voltage. ViewSonic VP920/VP920b 16 If the other end of the computer. Troubleshooting No power • Make sure power button (or switch) is ...ON. • Make sure A/C power cord is securely connected to the LCD display. • Plug another electrical device ...
...screen image • Make sure the video cable supplied with the LCD display is tightly secured to verify that the outlet is supplying proper voltage. ViewSonic VP920/VP920b 16 If the other end of the computer. Troubleshooting No power • Make sure power button (or switch) is ...ON. • Make sure A/C power cord is securely connected to the LCD display. • Plug another electrical device ...