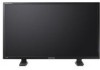
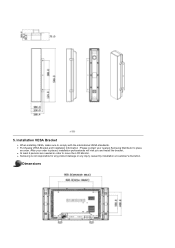
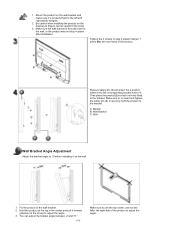
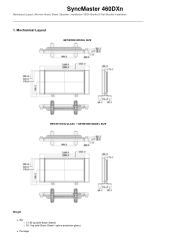
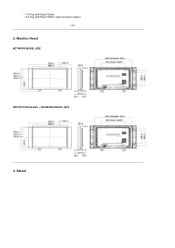
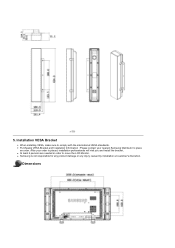
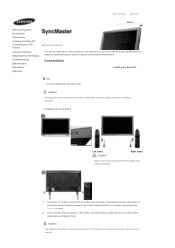
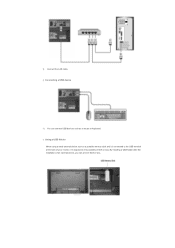
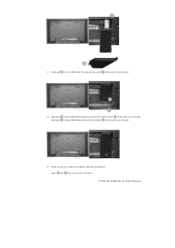
400DXn Monitor - Samsung SyncMaster 40 LCD Flat Panel Display
400DXn Monitor
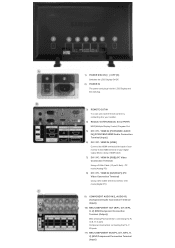
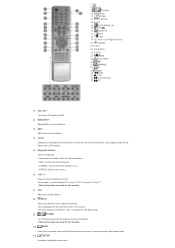
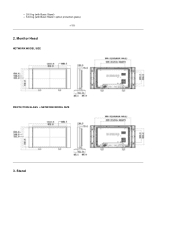
Related Manual Pages


Related Videos

$25 46" Monitor, Samsung 400DXn power supply fix
Duration: 5:06
Total Views: 1,301
Duration: 5:06
Total Views: 1,301
Similar Questions

How Can I Unlock My Samsung Monitor Model Ppm50m5hb
II pushed lock on my remote and now the remote is not working or the buttons on the monitor please h...
II pushed lock on my remote and now the remote is not working or the buttons on the monitor please h...
(Posted by coreylane33 7 years ago)

Replace A Lcd Monitor
my tv monitor does not have a picture. it shows crack in it and was wandering if u can give me the s...
my tv monitor does not have a picture. it shows crack in it and was wandering if u can give me the s...
(Posted by benguttman 12 years ago)
Samsung Monitor Repair Department
I HAVE A SAMSUNG T240HD MONITOR ONLY 2 YARS OLD' BOUGHT ON 4-19-2009 WHICH NEEDS TO BE REPAIRED PLE...
I HAVE A SAMSUNG T240HD MONITOR ONLY 2 YARS OLD' BOUGHT ON 4-19-2009 WHICH NEEDS TO BE REPAIRED PLE...
(Posted by vladimirgrishkoff 12 years ago)