Mini 1100 Hard Drive Replacement - HP PC
Mini 1100 Hard Drive Replacement
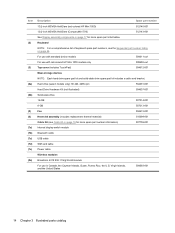
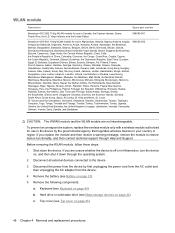
Related Manual Pages


Similar Questions

Hp 2540p Hard Drive Replacement How To
(Posted by thSchum 10 years ago)

How To Install Windows In Elitebook 2760p After Hard Drive Replacement
(Posted by joelliem 10 years ago)

Pavillion Dv6 3267 Hard Drive Replacement
How do I know what size of hard drive to get.
How do I know what size of hard drive to get.
(Posted by karilivingston 10 years ago)