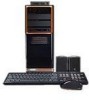
Gateway FX6800-01e Won't Turn On - FX 3 GB RAM
Gateway FX6800-01e Won't Turn On
View Results Below
Free Gateway FX6800-01e manuals!
Problems with Gateway FX6800-01e?
Ask a Question
Free Gateway FX6800-01e manuals!
Problems with Gateway FX6800-01e?
Ask a Question
Related Manual Pages


Similar Questions

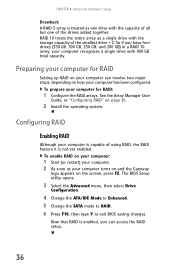
Gateway Fx6800 Mobo Has Power Wont Turn On
(Posted by ermDdb 9 years ago)

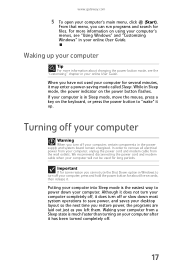
Will Not Turn On.
Press power button and system will not turn on.
Press power button and system will not turn on.
(Posted by mulliganfarmbs 11 years ago)

Cpu Fan Is Not Turn On In Gateway Lx6200-01 Desktop Pc
PC start correctly but after 8 minutes power turn off. I opened the desk top and confirm that CPU fa...
PC start correctly but after 8 minutes power turn off. I opened the desk top and confirm that CPU fa...
(Posted by ernieves 11 years ago)

Buzzing Sound When I Turn On The Computer
My tower makes a continuious buzzing sound when turned on. I opened up the back and tried cleaning t...
My tower makes a continuious buzzing sound when turned on. I opened up the back and tried cleaning t...
(Posted by warrenmarks 12 years ago)