Acer Aspire 5333, 5733, 5733Z Notebook Service Guide
Page 128
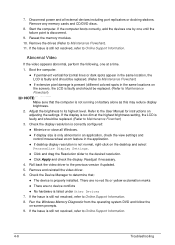
... abnormal in an application, check the view settings and control/mouse wheel zoom feature in the same locations on the screen), the LCD is faulty and should be replaced. (Refer to Online Support Information. 8. Reseat the memory modules. 10. Abnormal Video 0 If the video appears ...;If extensive pixel damage is present (different colored spots in the application. If desktop display resolution is faulty and should be replaced. (Refer to Online Support Information. If the Issue is still not resolved, refer to Maintenance Flowchart) NOTE: NOTE: Make sure that ...
... abnormal in an application, check the view settings and control/mouse wheel zoom feature in the same locations on the screen), the LCD is faulty and should be replaced. (Refer to Online Support Information. 8. Reseat the memory modules. 10. Abnormal Video 0 If the video appears ...;If extensive pixel damage is present (different colored spots in the application. If desktop display resolution is faulty and should be replaced. (Refer to Online Support Information. If the Issue is still not resolved, refer to Maintenance Flowchart) NOTE: NOTE: Make sure that ...
Acer Aspire 5333, 5733, 5733Z Notebook Service Guide
Page 143
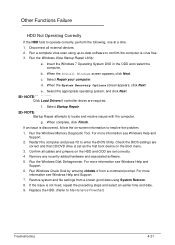
...correctly, perform the following, one at a time. 1. Confirm all external devices. 2. For more information see Windows Help and Support. 6. Replace the HDD. (Refer to locate and resolve issues with the computer. Run the Windows Vista Startup Repair Utility: a. NOTE: NOTE: Click...file settings from a command prompt. g. For more information see Windows Help and Support. 2. When complete, click Finish. When the Install Windows screen appears, click Next. d. Run Windows Check Disk by entering chkdsk /r from a known good date using up-to-date software to resolve ...
...correctly, perform the following, one at a time. 1. Confirm all external devices. 2. For more information see Windows Help and Support. 6. Replace the HDD. (Refer to locate and resolve issues with the computer. Run the Windows Vista Startup Repair Utility: a. NOTE: NOTE: Click...file settings from a command prompt. g. For more information see Windows Help and Support. 2. When complete, click Finish. When the Install Windows screen appears, click Next. d. Run Windows Check Disk by entering chkdsk /r from a known good date using up-to-date software to resolve ...


