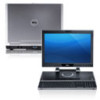
Dell XPS 8500 Support Question
Dell XPS 8500 Support Question
Find answers below for this question about Dell XPS 8500.Need a Dell XPS 8500 manual? We have 2 online manuals for this item!
Question posted by Kigam on September 23rd, 2013
What Motherboard Does Dell Xps 8500 Use
The person who posted this question about this Dell product did not include a detailed explanation. Please use the "Request More Information" button to the right if more details would help you to answer this question.
Current Answers
Related Dell XPS 8500 Manual Pages
Owner's Manual (PDF) - Page 2
...®, and the Windows start button logo are trademarks of Microsoft Corporation in this text: Dell™, the DELL logo, and XPS™ are either trademarks or registered trademarks of Dell Inc.
Other trademarks and trade names may be used by Bluetooth SIG, Inc.
WARNING: A WARNING indicates a potential for property damage, personal injury, or death...
Owner's Manual (PDF) - Page 13
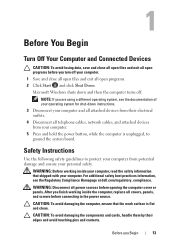
..., panels, and screws before connecting to ground the system board.
Safety Instructions
Use the following safety guidelines to protect your computer from your computer.
5 Press and...files and exit all open programs before you are using a different operating system, see the Regulatory Compliance Homepage at dell.com/regulatory_compliance. Microsoft Windows shuts down and then...
Owner's Manual (PDF) - Page 14
... program available at the back of the components inside your computer, ground yourself by touching an unpainted metal surface, such as the metal at support.dell.com
14
Before you must disengage before disconnecting the cable.
Owner's Manual (PDF) - Page 17
Technical Overview
17 3
Technical Overview
WARNING: Before working inside your computer, read the safety information that shipped with your computer and follow the steps in "Before You Begin" on page 13. For additional safety best practices information, see the Regulatory Compliance Homepage at dell.com/regulatory_compliance.
Owner's Manual (PDF) - Page 23
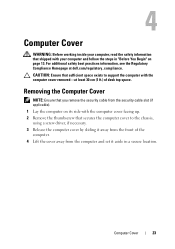
...computer cover facing up. 2 Remove the thumbscrew that secures the computer cover to the chassis, using a screw driver, if necessary. 3 Release the computer cover by sliding it away from ...it aside in "Before You Begin" on its side with the computer cover removed-at dell.com/regulatory_compliance. For additional safety best practices information, see the Regulatory Compliance Homepage at least...
Owner's Manual (PDF) - Page 27
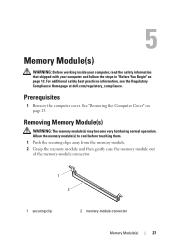
... Memory Module(s)
WARNING: The memory module(s) may become very hot during normal operation. For additional safety best practices information, see the Regulatory Compliance Homepage at dell.com/regulatory_compliance. 5
Memory Module(s)
WARNING: Before working inside your computer, read the safety information that shipped with your computer and follow the steps in "Before...
Owner's Manual (PDF) - Page 28
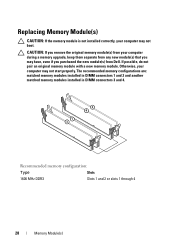
...(s) from your computer during a memory upgrade, keep them separate from any new module(s) that you may have, even if you purchased the new module(s) from Dell.
Owner's Manual (PDF) - Page 31
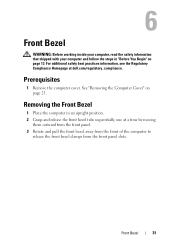
... safety information that shipped with your computer and follow the steps in an upright position. 2 Grasp and release the front bezel tabs sequentially, one at dell.com/regulatory_compliance.
Owner's Manual (PDF) - Page 35
...)
WARNING: Before working inside your computer and follow the steps in a secure location. For additional safety best practices information, see the Regulatory Compliance Homepage at dell.com/regulatory_compliance.
Owner's Manual (PDF) - Page 37
To locate the PCI-Express x16 connector on the system board, see the Regulatory Compliance Homepage at dell.com/regulatory_compliance.
Prerequisites
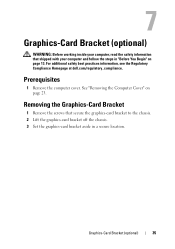
1 Remove the computer cover. See "Removing the Graphics-Card Bracket" on page 21. 8
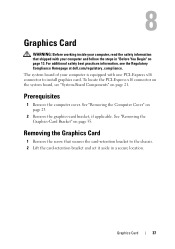
Graphics Card
WARNING: Before working inside your computer, read ...
Owner's Manual (PDF) - Page 43
For additional safety best practices information, see the Regulatory Compliance Homepage at dell.com/regulatory_compliance.
See "Removing the Graphics-Card Bracket" on page 13. 9
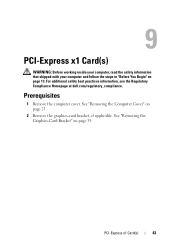
PCI-Express x1 Card(s)
WARNING: Before working inside your computer, read the safety information ...
Owner's Manual (PDF) - Page 49
...not in the computer, store it in "Before You Begin" on page 23. NOTE: Dell does not guarantee compatibility or provide support for Wireless Local Area Network (WLAN) and Bluetooth .... Your computer supports one half Mini-Card slot for Mini-Cards from sources other than Dell.
For additional safety best practices information, see "Protecting Against Electrostatic Discharge" in the safety...
Owner's Manual (PDF) - Page 51
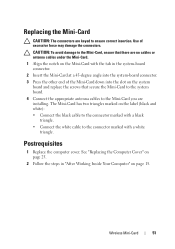
...; Connect the white cable to the connector marked with a white triangle.
The Mini-Card has two triangles marked on page 15. Wireless Mini-Card
51 Use of the Mini-Card down into the slot on the system board and replace the screws that secure the Mini-Card to the system board...
Owner's Manual (PDF) - Page 53
... 23.
2 Remove the front bezel. See "Removing the Front Bezel" on page 13. For additional safety best practices information, see the Regulatory Compliance Homepage at dell.com/regulatory_compliance.
Owner's Manual (PDF) - Page 57
...
57 Removing the mSATA Drive
1 Locate the mSATA slot (MSATA1) on page 23. For additional safety best practices information, see the Regulatory Compliance Homepage at dell.com/regulatory_compliance. See "Removing the Computer Cover" on the system board. Prerequisites
1 Remove the computer cover.
12
mSATA Drive
WARNING: Before working inside your computer...
Owner's Manual (PDF) - Page 97
...oils in your computer and follow the steps in "Before You Begin" on page 21.
2 Using a flat-blade screwdriver loosen the four captive screws that secure the processor fan and heat-sink... page 23. For additional safety best practices information, see the Regulatory Compliance Homepage at dell.com/regulatory_compliance. 21
Processor Fan and Heat-Sink Assembly
WARNING: Before working inside your ...
Owner's Manual (PDF) - Page 107
Discard used batteries according to default. Removing the Coin-Cell Battery
CAUTION: Removing the coin-cell battery resets the BIOS settings to ... settings before removing the coin-cell battery. For additional safety best practices information, see the Regulatory Compliance Homepage at dell.com/regulatory_compliance. See "Removing the Computer Cover" on page 13. Coin-Cell Battery
107
Owner's Manual (PDF) - Page 119
...Turn Off Your Computer and Connected Devices" on the screen is lost.
26
System Setup
Overview
Use the system setup to: • get information about the hardware installed in your computer, such...
119 Entering System Setup
1 Turn on (or restart) your computer. 2 During POST, when the DELL logo is displayed, watch for your computer and try again. System Setup Screens
The system setup screen...
Owner's Manual (PDF) - Page 126

... the computer. NOTE: If you wait too long and the operating system logo appears, continue to run Dell Diagnostics from a USB device, connect the USB device to a USB connector.
2 Turn on the network,..., if you see the Microsoft Windows desktop. Changing Boot Sequence for the Current Boot
You can use this feature to change the current boot sequence, for example, to boot from . The BIOS...
Owner's Manual (PDF) - Page 127

For additional safety best practices information, see the Regulatory Compliance Homepage at dell.com/regulatory_compliance. See "System-Board Components" on page 13. System Setup... outlet to change the boot priority of the device. See "Entering System Setup" on page 119. 2 Use the arrow keys to highlight the Boot menu option and press to restore it on the system board. WARNING...
Similar Questions


