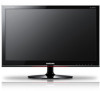
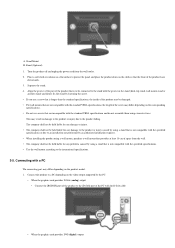
P2350 Wall Mount - Samsung
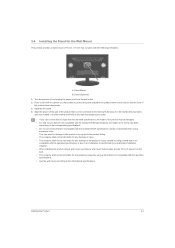
P2350 Wall Mount
Related Manual Pages


Similar Questions

How Do I Adapt My Syncmaster T260hd Monitor For Wall Mounting?
(Posted by codym 3 years ago)


Wall Mount?
I can't seem to find an adapter or a wall mount that supports the odd bolt pattern on my unit. Any s...
I can't seem to find an adapter or a wall mount that supports the odd bolt pattern on my unit. Any s...
(Posted by bmshipley 13 years ago)