Samsung CLP 650N Transfer Belt
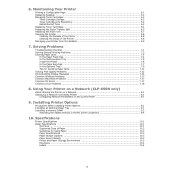
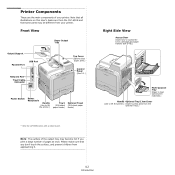
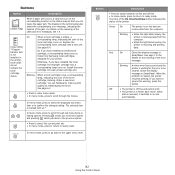
Related Manual Pages


Similar Questions

How Do I Reset Fuser And Transfer Belt Counter Back To Zero
How Do I Reset Fuser And Transfer Belt Counter Back To Zero
How Do I Reset Fuser And Transfer Belt Counter Back To Zero
(Posted by martinhofer 5 years ago)

How Do You Replace The Image Transfer Belt On This Model?
The "Prepare Transfer Belt" error is listed. I purchased a new one but I have not been able to get i...
The "Prepare Transfer Belt" error is listed. I purchased a new one but I have not been able to get i...
(Posted by lamasson 9 years ago)

How To Replace? Samsung Clp-315w Transfer Belt.
I am getting a samsung transfer belt error and think I need to replace it. Is this something that is...
I am getting a samsung transfer belt error and think I need to replace it. Is this something that is...
(Posted by DianaT 13 years ago)