Ryobi P854 Support and Manuals
Get Help and Manuals for this Ryobi item
Popular Ryobi P854 Manual Pages
User Manual 2 - Page 3
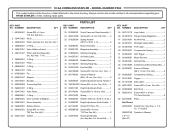
Always mention the model number in all correspondence regarding your RYOBI STAPLER or when ordering repair parts. NUMBER DESCRIPTION
QTY
23 202920001 Crank Case ... Cylinder w/Magnet 1
19 202918001 Driver Assembly 1
20 562963001 Rubber Sleeve 1
21 661923001 Screw (M4 x 14 mm,
T20 Torx Pan Hd 4
22 634212001 Gasket 1
PARTS LIST
KEY PART NO. NUMBER DESCRIPTION
QTY
45 ...
User Manual 2 - Page 4
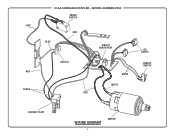
RED
RED BLACK
18 GA CORDLESS STAPLER - MODEL NUMBER P360
MICRO SWITCH
RED
BLUE
CIRCUIT BOARD ASSY
SWITCH RED
WHITE WHITE
LED LIGHTS
PADDLE SWITCH
CONTACT PLATE
WIRING DIAGRAM
4
MOTOR
User Manual - Page 2
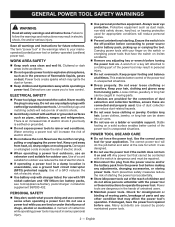
...the hands of dust extraction and collection facilities, ensure these instructions to operate the power tool. Keep your application. Contain long... repaired.
Disconnect the plug from the power source and/or the battery pack from heat, oil, sharp edges or moving parts... power tool repaired before turning the power tool on a ladder or unstable support. POWER TOOL USE AND CARE
&#...
User Manual - Page 3
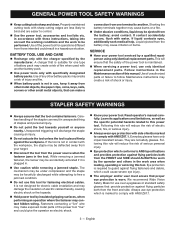
...by a qualified repair person using only identical replacement parts. The mechanism ...manual carefully. Everyday glasses have only impact resistant lenses. Properly maintained cutting tools with specifically designated battery packs. Use of electric shock, fire, or serious injury.
Always wear eye protection with side shields marked to follow Maintenance instructions...
User Manual - Page 4
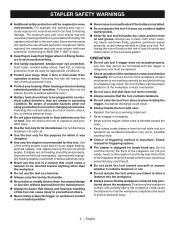
... equipment. Wear a face or dust mask if the operation is installed. Do not operate this tool if it does...the work area. The employer and user must be repaired.
Check operation of your body near fire...of the enclosure plastic. Check manual for triggering options.
The stapler is directed toward anything other parts of the workpiece contact mechanism...
User Manual - Page 5
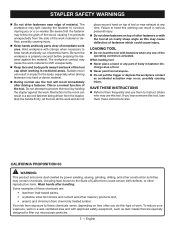
...recoil immediately after handling. When loading tool: Never place a hand or any part of fasteners which could cause injury. CALIFORNIA PROPOSITION 65
WARNING: This product and some dust... tool. Failure to filter out microscopic particles.
5 - SAVE THESE INSTRUCTIONS
Refer to these instructions also. Some examples of potential harm. Be sure the workpiece is a normal...
User Manual - Page 6

Read Operator's Manual
To reduce the risk of current
Rotational speed, at no .../min
Wet Conditions ...available recycling and/or disposal options. Voltage Time Type or a characteristic of injury, user must read and understand operator's manual before using this product. SYMBOLS
The following symbols may be used on this product.
Proper interpretation of these symbols will ...
User Manual - Page 7
... element or assembly on the tool intended to be activated by the material to be activated in any parts appear to be actuated.
Actuate (tool) To cause movement of the tool.
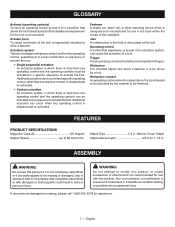
FEATURES
PRODUCT SPECIFICATIONS
Magazine Capacity 105 Staples Stapler Speed up to 1-1/2 in. Additional actuation can be fastened.
ASSEMBLY
WARNING:
Do not...
User Manual - Page 8
...if installed. Hold the tool upside down and away from the
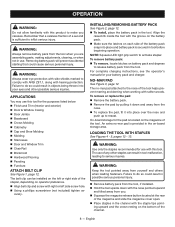
nose. To replace ...to reseat. INSTALLING/REMOVING BATTERY PACK
See Figure 2, page 12. To install, place ...serious injury. For complete charging instructions, see the operator's manuals for the pad is located ...and other staples can be installed on operator preference.
To remove or replace the pad: ...
User Manual - Page 9
... Depress the magazine release button.
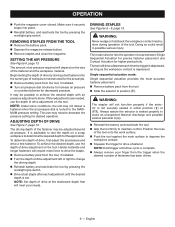
Remove staples and close the magazine. SETTING THE AIR PRESSURE
See Figure 6, page 13. The tool will depend on the tool. Single ... Remove battery pack from the tool, if installed. Turn air pressure dial clockwise to decrease the pressure setting for higher productivity. NOTE: Set depth of fasteners has been driven.
9 ...
User Manual - Page 10

... keeps the tool from operating when fasteners are flashing, install fully charged battery.
REMOVING A JAMMED STAPLE
See Figure...Insert a flat blade screwdriver into the driving mechanism
and push the driver mechanism back, freeing the jam. Remove the bent ...tool. Grip the tool firmly to flash, see Troubleshooting section for more information. The low staple indicator window in ...
User Manual - Page 11

... correct size Replace staples Tighten screws Clean magazine
Recharge battery Allow tool to damage from various types of any other parts could create a hazard or cause product damage. Use clean cloths to nearest authorized repair center
NOTE: ILLUSTRATIONS START ON PAGE 12 AFTER FRENCH AND SPANISH LANGUAGE SECTIONS.
11 - English TROUBLESHOOTING
PROBLEM
POSSIBLE CAUSE...
Ryobi P854 Reviews
We have not received any reviews for Ryobi yet.