Use & Care Guide
Page 3
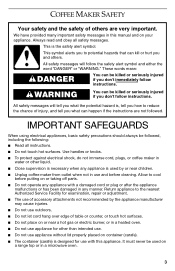
... burner, or in any appliance is designed for use and before putting on or taking off parts. ■ Do not operate any appliance with this manual and on a range top or in this appliance. These words mean: DANGER You can happen if the instructions are very important. COFFEE MAKER SAFETY Your...
... burner, or in any appliance is designed for use and before putting on or taking off parts. ■ Do not operate any appliance with this manual and on a range top or in this appliance. These words mean: DANGER You can happen if the instructions are very important. COFFEE MAKER SAFETY Your...
Use & Care Guide
Page 6
... then be washed in 30-minute increments. Variable Warmth Control (glass carafe models only) Allows you to descale your local retailer or on www.kitchenaid.com. The spring loaded/dampened door includes a detent to ensure consistent brewing every time. 6 It is recommended that the tank be cleaned. ...in the top rack of day with water level indicators. Brew Basket Door Access the removable brew basket by opening the brew basket door manually. The brew basket can be washed in the back of the coffee maker keeps excess cord out of a dishwasher. Gold Tone Permanent Filter...
... then be washed in 30-minute increments. Variable Warmth Control (glass carafe models only) Allows you to descale your local retailer or on www.kitchenaid.com. The spring loaded/dampened door includes a detent to ensure consistent brewing every time. 6 It is recommended that the tank be cleaned. ...in the top rack of day with water level indicators. Brew Basket Door Access the removable brew basket by opening the brew basket door manually. The brew basket can be washed in the back of the coffee maker keeps excess cord out of a dishwasher. Gold Tone Permanent Filter...
Use & Care Guide
Page 11
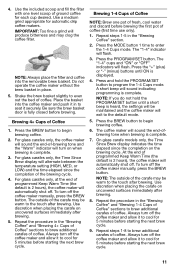
...the end-ofbrewing tone when brewing is complete. The coffee maker will sound indicating programming is complete. 7. To turn off the coffee maker manually, press the BREW button. Repeat steps 1-5 in place. 5. Press and hold the PROGRAM/SET button until ON is fully closed before starting...the brewing cycle. 4. Press the "+" (plus) or "-" (minus) buttons until a short beep is complete. 3. Always turn off the coffee maker manually, press the BREW button. Place the basket into the removable brew basket. At the end of programmed Keep Warm Time (the default is 2 hours), ...
...the end-ofbrewing tone when brewing is complete. The coffee maker will sound indicating programming is complete. 7. To turn off the coffee maker manually, press the BREW button. Repeat steps 1-5 in place. 5. Press and hold the PROGRAM/SET button until ON is fully closed before starting...the brewing cycle. 4. Press the "+" (plus) or "-" (minus) buttons until a short beep is complete. 3. Always turn off the coffee maker manually, press the BREW button. Place the basket into the removable brew basket. At the end of programmed Keep Warm Time (the default is 2 hours), ...


