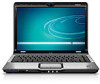
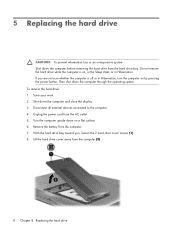
Pavilion dv2700 Remove Hard Drive - HP Entertainment Notebook PC
Pavilion dv2700 Remove Hard Drive
View Results Below
Free HP Pavilion dv2700 manuals!
Problems with HP Pavilion dv2700?
Ask a Question
Free HP Pavilion dv2700 manuals!
Problems with HP Pavilion dv2700?
Ask a Question
Related Manual Pages


Similar Questions

How To Remove Sound Card From Hp Dv2700 Laptop
(Posted by markan 9 years ago)

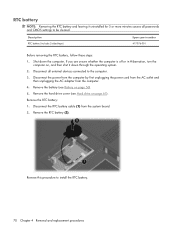
How To Remove Rtc Battery In Hp Dv2700
(Posted by helang 9 years ago)


External Hardive
What is the best external hard drive for the hp pavilion dv2700?? Thanks!!
What is the best external hard drive for the hp pavilion dv2700?? Thanks!!
(Posted by gngrbear 12 years ago)
Remove Hard Drive
I'm replacing the keyboard in my dv7-3058dx and one of the screws for the keyboard I believe is unde...
I'm replacing the keyboard in my dv7-3058dx and one of the screws for the keyboard I believe is unde...
(Posted by twhitehouse 13 years ago)