Monitor Users Guide
Page 3
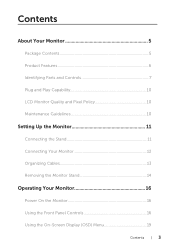
Contents About Your Monitor 5 Package Contents 5 Product Features 6 Identifying Parts and Controls 7 Plug and Play Capability 10 LCD Monitor Quality and Pixel Policy 10 Maintenance Guidelines 10 Setting Up the Monitor 11 Connecting the Stand 11 Connecting Your Monitor 12 Organizing Cables 13 Removing the Monitor Stand 14 Operating Your Monitor 16 Power On the Monitor 16 Using the Front Panel Controls 16 Using the On-Screen Display (OSD) Menu 19 Contents | 3
Contents About Your Monitor 5 Package Contents 5 Product Features 6 Identifying Parts and Controls 7 Plug and Play Capability 10 LCD Monitor Quality and Pixel Policy 10 Maintenance Guidelines 10 Setting Up the Monitor 11 Connecting the Stand 11 Connecting Your Monitor 12 Organizing Cables 13 Removing the Monitor Stand 14 Operating Your Monitor 16 Power On the Monitor 16 Using the Front Panel Controls 16 Using the On-Screen Display (OSD) Menu 19 Contents | 3

Monitor Users Guide
Page 14
Place the monitor on a soft cloth or cushion. 2. Tilt the stand downwards to access to push the release button. 14 | Setting Up the Monitor NOTE: The following steps is placed on a soft and clean surface. To remove the stand: 1. Use a long and thin screwdriver to the release button. 3. Removing the Monitor Stand NOTE: To prevent scratches on the LCD screen while removing the stand, ensure that the monitor is applicable for a monitor with a stand.
Place the monitor on a soft cloth or cushion. 2. Tilt the stand downwards to access to push the release button. 14 | Setting Up the Monitor NOTE: The following steps is placed on a soft and clean surface. To remove the stand: 1. Use a long and thin screwdriver to the release button. 3. Removing the Monitor Stand NOTE: To prevent scratches on the LCD screen while removing the stand, ensure that the monitor is applicable for a monitor with a stand.


