Acer TravelMate 5542 Research
View Results Below
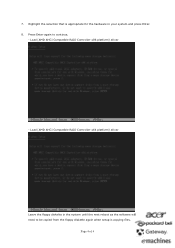
Free Acer TravelMate 5542 manuals!
Problems with Acer TravelMate 5542?
Ask a Question
Free Acer TravelMate 5542 manuals!
Problems with Acer TravelMate 5542?
Ask a Question
Related Manual Pages


Similar Questions

Is There A Manual Restore To Factory Settings Switch On An Acer Aspire 3680
(Posted by williamobrien631 10 years ago)


How Do I Get My Computer To Start Up. Working Fine Last Night And Now It Will No
tried rebooting, running start up repair and it will not reboot
tried rebooting, running start up repair and it will not reboot
(Posted by frannita 12 years ago)

How Can I Connect An External Monitor To My Travelmate 4320 Laptop?
When I connected the monitor to my laptop, the monitor showed that it is not receiving any data from...
When I connected the monitor to my laptop, the monitor showed that it is not receiving any data from...
(Posted by lalaptorres 12 years ago)