User Manual
Page 5
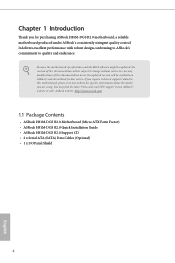
... BIOS software might be updated, the content of this documentation will be subject to change without further notice. ASRock website http://www.asrock.com. 1.1 Package Contents • ASRock H81M-DGS R2.0 Motherboard (Micro ATX Form Factor) • ASRock H81M-DGS R2.0 Quick Installation Guide • ASRock H81M-DGS R2.0 Support CD • 2 x Serial ATA (SATA) Data Cables (Optional) • 1 x I/O Panel Shield 1 English In this manual, Chapter...
... BIOS software might be updated, the content of this documentation will be subject to change without further notice. ASRock website http://www.asrock.com. 1.1 Package Contents • ASRock H81M-DGS R2.0 Motherboard (Micro ATX Form Factor) • ASRock H81M-DGS R2.0 Quick Installation Guide • ASRock H81M-DGS R2.0 Support CD • 2 x Serial ATA (SATA) Data Cables (Optional) • 1 x I/O Panel Shield 1 English In this manual, Chapter...
User Manual
Page 6
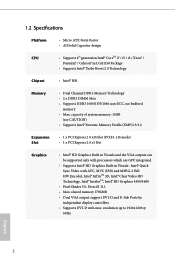
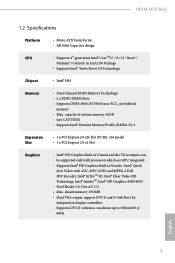
... Channel DDR3 Memory Technology • 2 x DDR3 DIMM Slots • Supports DDR3 1600/1333/1066 non-ECC, un-buffered memory • Max. 1.2 Specifications Platform CPU • Micro ATX Form Factor • All Solid Capacitor design • Supports 4th generation Intel® CoreTM i7 / i5 / i3 / Xeon® / Pentium® / Celeron® in Visuals...
... Channel DDR3 Memory Technology • 2 x DDR3 DIMM Slots • Supports DDR3 1600/1333/1066 non-ECC, un-buffered memory • Max. 1.2 Specifications Platform CPU • Micro ATX Form Factor • All Solid Capacitor design • Supports 4th generation Intel® CoreTM i7 / i5 / i3 / Xeon® / Pentium® / Celeron® in Visuals...
User Manual
Page 16
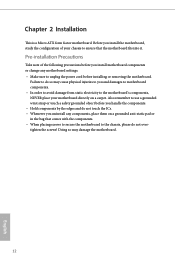
... with the components. • When placing screws to secure the motherboard to the chassis, please do so may damage the motherboard. Chapter 2 Installation This is a Micro ATX form factor motherboard. Also remember to do not overtighten the screws! Before you install motherboard components or change any components, place them on a carpet. Failure...
... with the components. • When placing screws to secure the motherboard to the chassis, please do so may damage the motherboard. Chapter 2 Installation This is a Micro ATX form factor motherboard. Also remember to do not overtighten the screws! Before you install motherboard components or change any components, place them on a carpet. Failure...
Quick Installation Guide
Page 5
... case any modifications of this documentation occur, the updated version will be available on ASRock's website as well. If you are using. ASRock website http://www.asrock.com. 1.1 Package Contents • ASRock H81M-DGS R2.0 Motherboard (Micro ATX Form Factor) • ASRock H81M-DGS R2.0 Quick Installation Guide • ASRock H81M-DGS R2.0 Support CD • 2 x Serial ATA (SATA) Data Cables (Optional) • 1 x I/O Panel Shield 4 English Because...
... case any modifications of this documentation occur, the updated version will be available on ASRock's website as well. If you are using. ASRock website http://www.asrock.com. 1.1 Package Contents • ASRock H81M-DGS R2.0 Motherboard (Micro ATX Form Factor) • ASRock H81M-DGS R2.0 Quick Installation Guide • ASRock H81M-DGS R2.0 Support CD • 2 x Serial ATA (SATA) Data Cables (Optional) • 1 x I/O Panel Shield 4 English Because...
Quick Installation Guide
Page 6
H81M-DGS R2.0 1.2 Specifications Platform CPU • Micro ATX Form Factor • All Solid Capacitor design • Supports 4th generation Intel® CoreTM i7 / i5 / i3 / Xeon® / Pentium® / Celeron® in Visuals : ...
H81M-DGS R2.0 1.2 Specifications Platform CPU • Micro ATX Form Factor • All Solid Capacitor design • Supports 4th generation Intel® CoreTM i7 / i5 / i3 / Xeon® / Pentium® / Celeron® in Visuals : ...
Quick Installation Guide
Page 13
... the edges and do so may damage the motherboard. 12 English Failure to the chassis, please do not overtighten the screws! Chapter 2 Installation This is a Micro ATX form factor motherboard. Pre-installation Precautions Take note of your motherboard directly on a grounded anti-static pad or in the bag that the motherboard fits...
... the edges and do so may damage the motherboard. 12 English Failure to the chassis, please do not overtighten the screws! Chapter 2 Installation This is a Micro ATX form factor motherboard. Pre-installation Precautions Take note of your motherboard directly on a grounded anti-static pad or in the bag that the motherboard fits...
Quick Installation Guide
Page 58
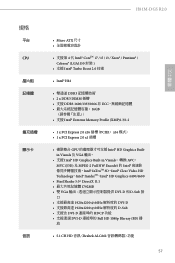
規格 平台 CPU 音訊 H81M-DGS R2.0 • Micro ATX 4 代 Intel® CoreTM i7 / i5 / i3 / Xeon® / Pentium® / Celeron® (LGA1150 封裝 ) • 支援 Intel® Turbo Boost 2.0 技術 &#...
規格 平台 CPU 音訊 H81M-DGS R2.0 • Micro ATX 4 代 Intel® CoreTM i7 / i5 / i3 / Xeon® / Pentium® / Celeron® (LGA1150 封裝 ) • 支援 Intel® Turbo Boost 2.0 技術 &#...
