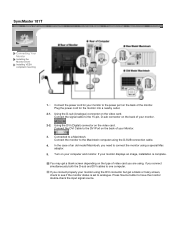
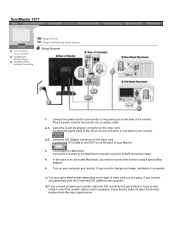
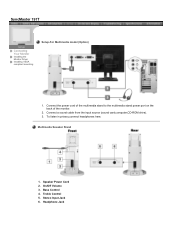
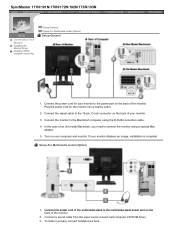
Samsung 191N Syncmaster

Related Manual Pages


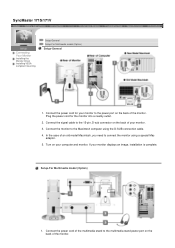
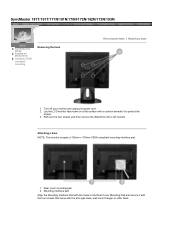
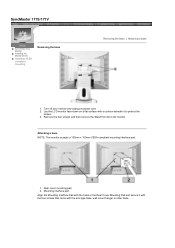
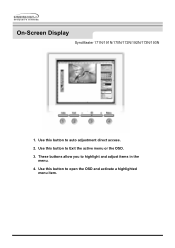
Similar Questions

Change Language On T200hd Syncmaster
Hello, I still have my T200HD Syncmaster. I purchased it in Korea. Can you help me change the langua...
Hello, I still have my T200HD Syncmaster. I purchased it in Korea. Can you help me change the langua...
(Posted by speedlimitmax 2 years ago)

Samsung Syncmaster B2030 Monitor
Required schematics of Samsung Syncmaster B2030 monitor.
Required schematics of Samsung Syncmaster B2030 monitor.
(Posted by sivankls 2 years ago)

Samsung Syncmaster 923nw Power Supply Schematic Diagram
I need schematic diagram for the power supply of Samsung Syncmaster 923NW because I can not recogniz...
I need schematic diagram for the power supply of Samsung Syncmaster 923NW because I can not recogniz...
(Posted by adolph923 8 years ago)