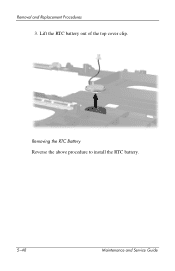
Nx5000 Battery Removal - HP Compaq Business Notebook
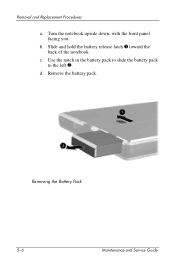
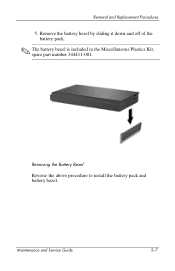
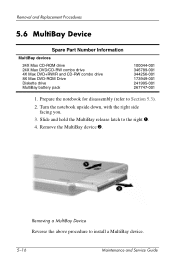
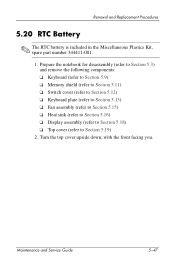
Nx5000 Battery Removal
Related Manual Pages


Similar Questions

Hp Probook 6555b Will Not Turn On With Battery Removed
(Posted by Juliind 10 years ago)

Battery Removal G60-549dx
Can only see 1 latch & it dosn't move is there a second latch to unlock this one
Can only see 1 latch & it dosn't move is there a second latch to unlock this one
(Posted by waynegillespie 11 years ago)
Battery Removal
What holds it in , latch isn't moving & don't want to force it.
What holds it in , latch isn't moving & don't want to force it.
(Posted by waynegillespie 11 years ago)