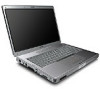
Presario V5000 Keyboard Replacement - Compaq Notebook PC
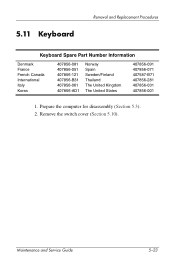
Presario V5000 Keyboard Replacement
View Results Below
Free Compaq Presario V5000 manuals!
Problems with Compaq Presario V5000?
Ask a Question
Free Compaq Presario V5000 manuals!
Problems with Compaq Presario V5000?
Ask a Question
Related Manual Pages


Related Videos

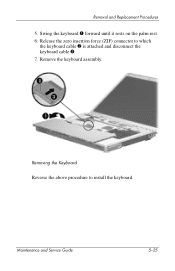
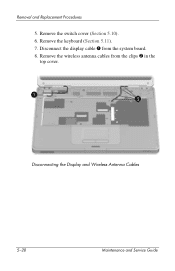
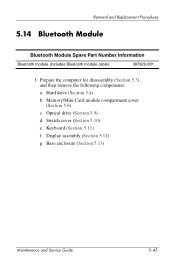
How to replace a Keyboard on a Compaq Presario V5000
Duration: 2:39
Total Views: 61,862
Duration: 2:39
Total Views: 61,862
Similar Questions

Compaq Presario 1500 Keyboard Replacement How To
(Posted by brijbecci 9 years ago)

How To Remove The Keyboard Presario V5000 W/ Pics
(Posted by pam1Ledogi 10 years ago)

How To Replace A Wireless Card Presario V5000
(Posted by jenraam 10 years ago)

Laptop Not Working
My Compact Presario CQ56 does not working and the caps lock light is blinking every time
My Compact Presario CQ56 does not working and the caps lock light is blinking every time
(Posted by sadaf 11 years ago)

Install A Compaq Presario C 700 Replacement Keyboard
HOW TO REMOVE AND REPLACE A NEW KEYBOARD FOR A COMPAQ PRESARIO C 700 LAPTOP
HOW TO REMOVE AND REPLACE A NEW KEYBOARD FOR A COMPAQ PRESARIO C 700 LAPTOP
(Posted by EGARCIA1125 12 years ago)