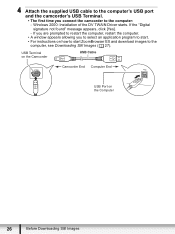
Canon VIXIA HG20 Usb Cable

Related Manual Pages


Similar Questions

How Do I Upload Videos To The Cloud From My Vixia Hg20. Having Issues. Thanks!
Hi!! I have a Canon Vixia HG20. Love it. Over the yrs I have uploaded video to sd cards. I am now at...
Hi!! I have a Canon Vixia HG20. Love it. Over the yrs I have uploaded video to sd cards. I am now at...
(Posted by cdkdrum 2 years ago)

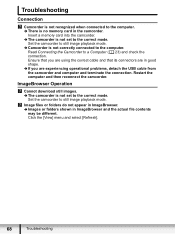
Too Many Photos. Disconnect The Usb Cable.
I have never connectd my HG21 to my computer. This morning I tried to but received a message on the ...
I have never connectd my HG21 to my computer. This morning I tried to but received a message on the ...
(Posted by pcasey522 9 years ago)

Windows 7 Computer Will Not Recognize Canon Vixia Hg20
(Posted by awojAJPCOM 9 years ago)

Why Does Windows7 Not Recognize Usb Port For Canon Vixia Hg20
what is the support fix
what is the support fix
(Posted by edcgroup 12 years ago)

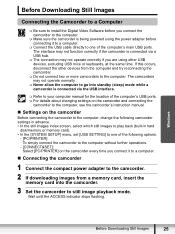
Download Video From Internal Memory Using Usb Cable?
(Posted by larrystpierre8 12 years ago)