v2 Camera Manual
Page 18
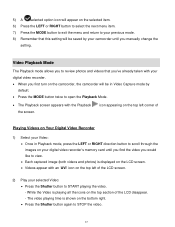
...button to exit the menu and return to your previous mode. 8) Remember that you've already taken with your digital video recorder. When you first turn on the camcorder, the camcorder will be in Playback mode, press the LEFT or RIGHT direction button to STOP the video. 17 Video Playback... Mode The Playback mode allows you to review photos and videos that this setting will be saved by default. ...
...button to exit the menu and return to your previous mode. 8) Remember that you've already taken with your digital video recorder. When you first turn on the camcorder, the camcorder will be in Playback mode, press the LEFT or RIGHT direction button to STOP the video. 17 Video Playback... Mode The Playback mode allows you to review photos and videos that this setting will be saved by default. ...
v2 Camera Manual
Page 26
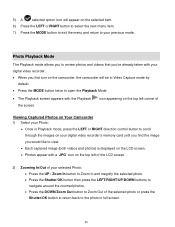
...Playback mode, press the LEFT or RIGHT direction control button to scroll through the images on your digital video recorder's memory card until you find the image you first turn on the camcorder, the camcorder will appear on the selected item. 6) Press the LEFT or RIGHT button to select the ... on the top left corner of Viewing Captured Photos on Your Camcorder 1) Select your Photo: Once in full screen. 25 Photo Playback Mode The Playback mode allows you to review photos and videos that you've already taken with your digital video recorder. When you would like to view. ...
...Playback mode, press the LEFT or RIGHT direction control button to scroll through the images on your digital video recorder's memory card until you find the image you first turn on the camcorder, the camcorder will appear on the selected item. 6) Press the LEFT or RIGHT button to select the ... on the top left corner of Viewing Captured Photos on Your Camcorder 1) Select your Photo: Once in full screen. 25 Photo Playback Mode The Playback mode allows you to review photos and videos that you've already taken with your digital video recorder. When you would like to view. ...
v2 Camera Manual
Page 31
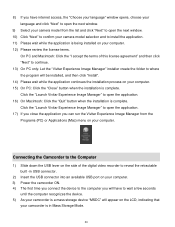
...the Computer 1) Slide down the USB lever on the side of the digital video recorder to reveal the retractable built -in USB connector. 2) Insert the USB connector into an available USB port on your computer. 3) Power the camcorder ON. 4) The first time you connect the device to the computer you... review the license terms. On PC and Macintosh: Click the "I accept the terms of this license agreement" and then click "Next" to continue. 13) On PC only: Let the "Vivitar Experience Image Manager" installer create the folder to where the program will appear on the LCD, indicating that your camcorder is...
...the Computer 1) Slide down the USB lever on the side of the digital video recorder to reveal the retractable built -in USB connector. 2) Insert the USB connector into an available USB port on your computer. 3) Power the camcorder ON. 4) The first time you connect the device to the computer you... review the license terms. On PC and Macintosh: Click the "I accept the terms of this license agreement" and then click "Next" to continue. 13) On PC only: Let the "Vivitar Experience Image Manager" installer create the folder to where the program will appear on the LCD, indicating that your camcorder is...


