Fluke 196C Manual
Related Manual Pages


Similar Questions


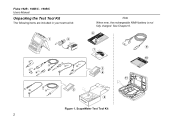
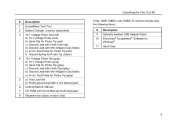
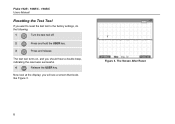
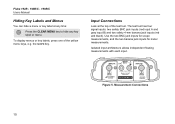
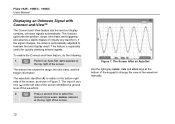
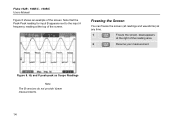
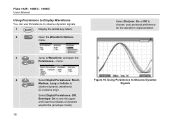
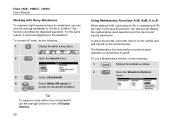
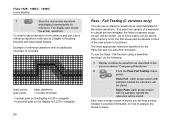
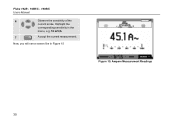
Operation
We have 2 fluke 1550B that ran out of batteries and were not placed on charge for about 2 weeks and ...
We have 2 fluke 1550B that ran out of batteries and were not placed on charge for about 2 weeks and ...
(Posted by johnnyt3000 7 years ago)

Can You Send Me Adjustment Manual Of Meter Fluke 971
Some Body Help Me, For Adjustment Fluke 971,because I Have Extrangers Readings. thank's For Your Hel...
Some Body Help Me, For Adjustment Fluke 971,because I Have Extrangers Readings. thank's For Your Hel...
(Posted by ehernand 9 years ago)