English Owners Manual
Page 3
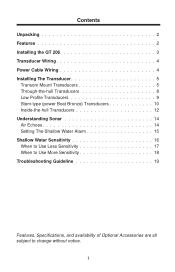
Contents Unpacking 2 Features 2 Installing the QT 206 3 Transducer Wiring 4 Power Cable Wiring 4 Installing The Transducer 5 Transom Mount Transducers 5 Through-the-hull Transducers 8 Low Profile Transducers 9 Stem-type (power Boat Bronze) Transducers 10 Inside-the-hull Transducers 12 Understanding Sonar 14 Air Echoes 14 Setting The Shallow Water Alarm 15 Shallow Water Sensitivity 16 When to...
Contents Unpacking 2 Features 2 Installing the QT 206 3 Transducer Wiring 4 Power Cable Wiring 4 Installing The Transducer 5 Transom Mount Transducers 5 Through-the-hull Transducers 8 Low Profile Transducers 9 Stem-type (power Boat Bronze) Transducers 10 Inside-the-hull Transducers 12 Understanding Sonar 14 Air Echoes 14 Setting The Shallow Water Alarm 15 Shallow Water Sensitivity 16 When to...
English Owners Manual
Page 9
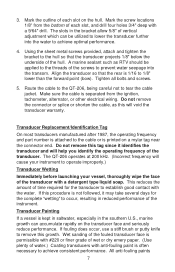
Using the sheet metal screws provided, attach and tighten the bracket to the hull so that the rear is 1/16 to establish good contact with a 9/64" drill. The QT-206 operates at 200 kHz. (Incorrect frequency will cause your instrument to operate improperly.) Transducer Wetting ...achieve optimal performance. 4. All anti-fouling paints 7 3. Tighten all bolts and screws. 5. Route the cable to the QT-206, being careful not to the threads of the hull. Mark the screw locations 1/8" from the ignition, tachometer, alternator, or other electrical wiring. The slots in the bracket allow...
Using the sheet metal screws provided, attach and tighten the bracket to the hull so that the rear is 1/16 to establish good contact with a 9/64" drill. The QT-206 operates at 200 kHz. (Incorrect frequency will cause your instrument to operate improperly.) Transducer Wetting ...achieve optimal performance. 4. All anti-fouling paints 7 3. Tighten all bolts and screws. 5. Route the cable to the QT-206, being careful not to the threads of the hull. Mark the screw locations 1/8" from the ignition, tachometer, alternator, or other electrical wiring. The slots in the bracket allow...


