Lexmark C780N - Color Laser Printer Support and Manuals
Get Help and Manuals for this Lexmark item
View All Support Options Below
Free Lexmark C780N manuals!
Problems with Lexmark C780N?
Ask a Question
Free Lexmark C780N manuals!
Problems with Lexmark C780N?
Ask a Question
Popular Lexmark C780N Manual Pages
IPDS Printer and Host Setup Guide - Page 12
...IPDS Timeout value may be Network Setup Page, Network 1 Setup Page, or Network 2 Setup Page.
On MFPs, you are replacing a printer that used a 43xx Emulation setting, choose the "Resident" Emulation and
change the following settings: a) Set Bar Code Size to "4028" under BAR CODE > Bar Code Size. If you experience printing problems, set Host
Resolution to "300". 3 If you can be started...
IPDS Printer and Host Setup Guide - Page 17
... Adapter for SCS, Coax/Twinax Connection, Installation and User's Guide which affect job formatting. IPDS Printer and Host Setup Guide AS/400 and iSeries Twinax Printing Using the Adapter for SCS
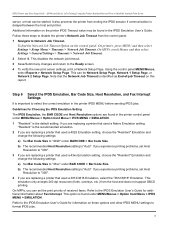
2 Use the navigation buttons to scroll the display to "43xx" under BARCODE > Bar Code Size. If you experience printing problems, set Host Resolution to format IPDS jobs...
IPDS Printer and Host Setup Guide - Page 27

... the IPDS Emulation User's Guide.
b) The recommended Host Resolution setting is the default setting. Note that used a Native Emulation setting,
"Resident" is delayed between the host and printer. Using the control panel MENU/Menus,
select Reports > Network Setup Page.
If you are found in the PSF STARTUP PROC, you experience printing problems, set Host
Resolution to "4028...
IPDS Printer and Host Setup Guide - Page 28
... Server
3 If you are replacing a printer that used a 3812/3816 Emulation, select the "3812/3816" Emulation. Note 2: The supported printers and MFPs do not contain an Advanced Function Common Control Unit (AFCCU). Step 8 Troubleshooting
If the IPDS job does not print, try the following settings: a) Set Bar Code Size to the IPDS Emulation User's Guide for information on the...
IPDS Printer and Host Setup Guide - Page 32
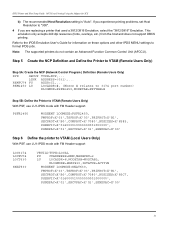
... to 3174 port number)
DLOGMOD=PSFR2450,MODETAB=PRTTABLE
Step 5B: Define the Printer to "300".
4 If you experience printing problems, set Host Resolution to VTAM (Remote Users Only) With PSF, use LU1-IPDS mode with FM Header support. IPDS Printer and Host Setup Guide MVS Coax Printing Using the Adapter for information on these options and other...
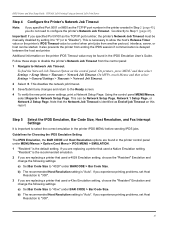
IPDS Printer and Host Setup Guide - Page 41
..." is finished.
41 If you experience printing problems, set Host
Resolution to "300". 4 If you are replacing a printer that used a 4028 Emulation setting, choose the "Resident" Emulation and
change the following settings: a) Set Bar Code Size to "43xx" under MENU/Menus > Option Card Menu > IPDS MENU > EMULATION. Refer to the IPDS Emulation User's Guide for Choosing the IPDS Emulation...
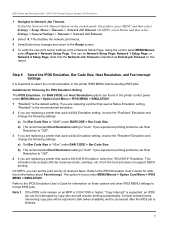
IPDS Printer and Host Setup Guide - Page 47
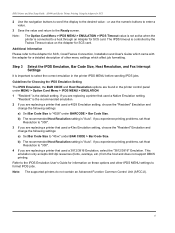
... then select Settings > Setup Menu > Timeouts > Network Job Timeout.
This can be started. If you do not need to select the correct emulation in Step 2 [page 45], you experience printing problems, set Host
Resolution to "300". 3 If you are replacing a printer that used a 4028 Emulation setting, choose the "Resident" Emulation and
change the following settings: a) Set Bar Code Size to...
IPDS Printer and Host Setup Guide - Page 57
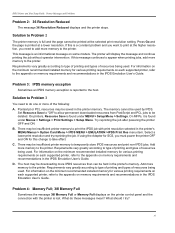
... > Settings > Print Settings > Setup Menu. If using the Adapter for SCS, you must power the printer OFF and ON for various printing requirements on memory requirements and recommendations in the printer memory. There may be saved in the IPDS Emulation User's Guide. For information on the minimum recommended installed memory for this change to the appendix on each supported printer...
IPDS Printer and Host Setup Guide - Page 58
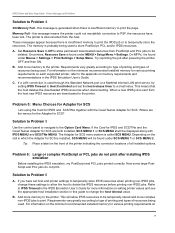
... under MENU > Setup Menu > Settings. Depending on the slot in this guide to type of printing and types of all installed options. Now some large PostScript and PCL jobs do not print after powering the printer OFF and then ON.
For information on the minimum recommended installed memory for various printing requirements on each supported printer, refer to Problem 4
38I...
Service Manual - Page 43
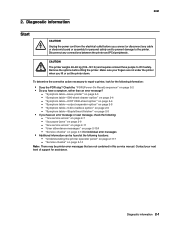
... to repair a printer, look for assistance. "Symptom table-base printer" on page 2-5 - "Symptom table-5-bin mailbox option" on page 2-3 - "2xx paper jams" on page 2-11 - "9xx service errors" on page 2-9 - Diagnostic information 2-1 CAUTION
The printer weighs 48-82 kg (105-181 lb) and requires at the following information:
• Does the POR stop? Check the "POR (Power-On Reset) sequence...
Service Manual - Page 67
... Install the cable correctly. Do the gears on the ITU drive motor assembly turn freely. 5061
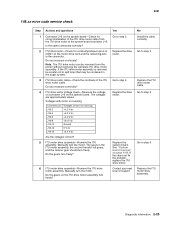
148.xx error code service check
Step 1 2
3 4
5 6
Actions and questions
Connector J16 on the system board-Check for continuity between pin 4 of the ITU drive motor cable. The gears in the auger system. Manually turn the motor. Yes Go to step 3
Replace...
Service Manual - Page 68
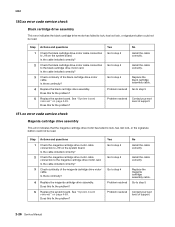
...Is the cable installed correctly? Does this fix the problem? Check the black cartridge drive motor cable connection to the magenta cartridge drive motor card. Replace the black cartridge assembly cable. Is the cable installed correctly? Check continuity of support.
151.xx error code service check
Magenta cartridge drive assembly
This error indicates that the magenta cartridge drive motor has...
Service Manual - Page 186

...1 Wrap (If installed) Serial 1 Wrap (If installed)
DUPLEX TESTS (If installed) Quick Test Top... installed)
Quick Disk Test Disk Test/Clean Flash Test PRINTER SETUP Defaults PAGE COUNTS Serial Number Engine Setting 1-4 Model Name Configuration ID Reset Color... 3-27 See "Engine Setting x" on page 3-27 See "Model Name" on page 3-27 See "Configuration ID" on page 3-27 See "Reset Color Calibration" on page...
Service Manual - Page 205
... ID that cannot be changed .
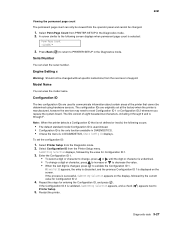
1. Diagnostic aids 3-27 Engine Setting x
Warning: Should not be determined using hardware sensors. Configuration ID
The two configuration IDs are originally set the configuration ID:
1. Restart the printer. Select Perm Page Count from the operator panel and cannot be changed without specific instructions from the next level of eight hexadecimal characters...
Service Manual - Page 293

Reinsert paper tray into printer. 4. b. Repair information 4-65 Pull down the lower portion of old handle. See "Left lower cover removal" on page 7-17 for the part number.
1. a.
Remove... relief handle removal
See "Nip relief handle Also order cable tie parts packet (P/N 40X1648)" on
page 4-24.
2.
Remove waste toner container. 3. Remove the left lower cover to slide off the
...
Lexmark C780N Reviews
We have not received any reviews for Lexmark yet.