Fs-1100 Maintenance - Kyocera FS 1100 B W Laser Printer
Fs-1100 Maintenance
Related Manual Pages


Similar Questions

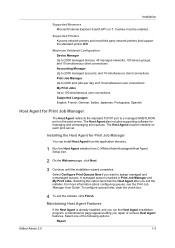
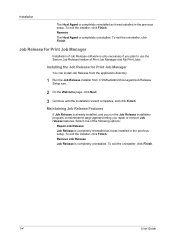
Maintenance Kit
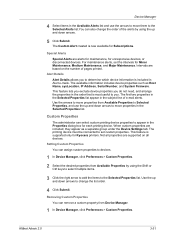
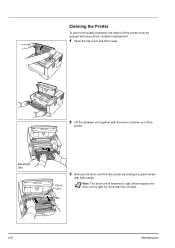
instruction steps of installing a maintenance kit
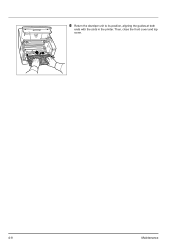
instruction steps of installing a maintenance kit
(Posted by jhumphrey38010 11 years ago)