Presario CQ57 Driver - HP 200
Presario CQ57 Driver
View Results Below
Free HP Presario CQ57-200 manuals!
Problems with HP Presario CQ57-200?
Ask a Question
Free HP Presario CQ57-200 manuals!
Problems with HP Presario CQ57-200?
Ask a Question
Related Manual Pages


Similar Questions

Windows 7 Can't Find Wireless Driver For Compaq Presario Cq57
(Posted by osaja 10 years ago)

Unable To Find Driver
how will find graphic and bluetooth driver of cq57
how will find graphic and bluetooth driver of cq57
(Posted by manzarhasan007 11 years ago)

Unable To Find Driver
how will find graphic and bluetooth driver of cq57
how will find graphic and bluetooth driver of cq57
(Posted by manzarhasan00718072 11 years ago)

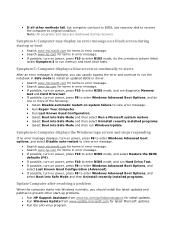
How Can You Tell If The Drivers Are Up To Date?
When booting in Safe Mode How can you tell if the drivers are up to date for the HP8460?
When booting in Safe Mode How can you tell if the drivers are up to date for the HP8460?
(Posted by jmauersberg 11 years ago)

Hp Probook4410s Driver
how i can download free driver of window 7 for probook 4410s laptop
how i can download free driver of window 7 for probook 4410s laptop
(Posted by priyaranjankashyap 12 years ago)