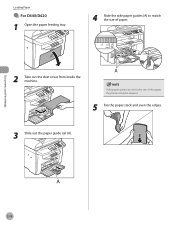
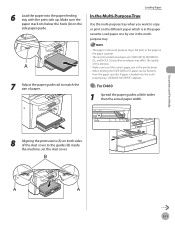
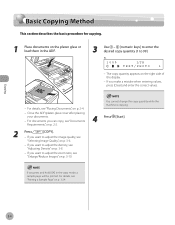
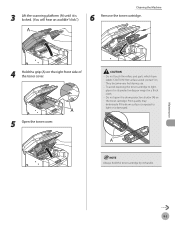
imageCLASS D420 Cover - Canon
imageCLASS D420 Cover
View Results Below
Free Canon imageCLASS D420 manuals!
Problems with Canon imageCLASS D420?
Ask a Question
Free Canon imageCLASS D420 manuals!
Problems with Canon imageCLASS D420?
Ask a Question
Related Manual Pages


Similar Questions

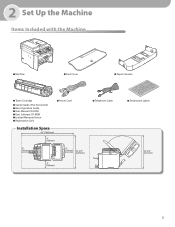
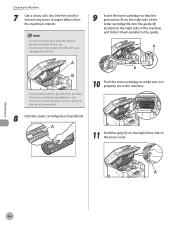
Inner Cover
Getting message that inner cover is open. What is the inner cover?
Getting message that inner cover is open. What is the inner cover?
(Posted by lwoodwardblue 9 years ago)

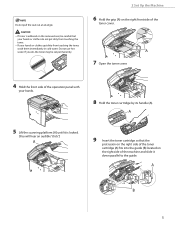
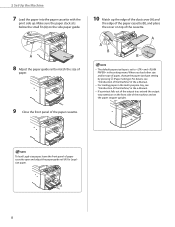
Close Carriage Cover
machine will not go past the message 'close carriage cover' please help
machine will not go past the message 'close carriage cover' please help
(Posted by marcus99 11 years ago)

How Do I Lower The Cover After Changing Ink Cartridges
I successfully changed the ink cartridges. cant figure out how to lower the cover. there is a plasti...
I successfully changed the ink cartridges. cant figure out how to lower the cover. there is a plasti...
(Posted by vimaxx 11 years ago)