
Users Manual - English
Page 77
b Press and hold down Go for about 4 seconds until all four LEDs are lit, release Go. Once all the LEDs light up. c Take out the drum unit and toner cartridge assembly. 69 6. Routine Maintenance When you replace the drum unit with a new one, you only replace the toner cartridge. Press the front cover release button and then open the front cover. Improper Setup Do not reset the drum counter when you need to reset the drum counter by completing the following steps: a Make sure that the printer is turned on and the Drum LED is blinking.
b Press and hold down Go for about 4 seconds until all four LEDs are lit, release Go. Once all the LEDs light up. c Take out the drum unit and toner cartridge assembly. 69 6. Routine Maintenance When you replace the drum unit with a new one, you only replace the toner cartridge. Press the front cover release button and then open the front cover. Improper Setup Do not reset the drum counter when you need to reset the drum counter by completing the following steps: a Make sure that the printer is turned on and the Drum LED is blinking.
Network Users Manual - English
Page 47
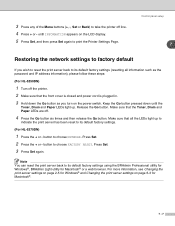
...: (For HL-5250DN) 1 Turn off the printer. 2 Make sure that the Toner, Drum and Paper LEDs are off line. 4 Press + or - Press Set. 3 Press Set again. button to choose NETWORK. Note You can reset the print server back to its default factory settings using the BRAdmin Professional utility for Windows®, BRAdmin Light utility for...
...: (For HL-5250DN) 1 Turn off the printer. 2 Make sure that the Toner, Drum and Paper LEDs are off line. 4 Press + or - Press Set. 3 Press Set again. button to choose NETWORK. Note You can reset the print server back to its default factory settings using the BRAdmin Professional utility for Windows®, BRAdmin Light utility for...
Network Users Manual - English
Page 48
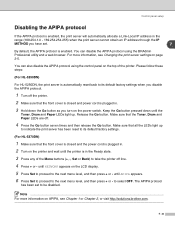
... these steps: (For HL-5250DN) For HL-5250DN, the print server is automatically reset back to its default factory settings. (For HL-5270DN) 1 Make sure that the front cover is closed and power cord is plugged in. 3 Hold down until the Toner, Drum and Paper LEDs light up to indicate the print...next menu level, and then press + or - Release the Go button. Note For more information, see Chapter 1 or Chapter 2, or visit http://solutions.brother.com. 7 - 8 until the printer is enabled. The APIPA protocol has been set . 7 By default, the APIPA protocol is in the Ready state....
... these steps: (For HL-5250DN) For HL-5250DN, the print server is automatically reset back to its default factory settings. (For HL-5270DN) 1 Make sure that the front cover is closed and power cord is plugged in. 3 Hold down until the Toner, Drum and Paper LEDs light up to indicate the print...next menu level, and then press + or - Release the Go button. Note For more information, see Chapter 1 or Chapter 2, or visit http://solutions.brother.com. 7 - 8 until the printer is enabled. The APIPA protocol has been set . 7 By default, the APIPA protocol is in the Ready state....


