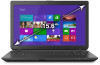
Satellite C55DT-B5128 Touch-screen - Toshiba
Satellite C55DT-B5128 Touch-screen
View Results Below
Free Toshiba Satellite C55DT-B5128 manuals!
Problems with Toshiba Satellite C55DT-B5128?
Ask a Question
Free Toshiba Satellite C55DT-B5128 manuals!
Problems with Toshiba Satellite C55DT-B5128?
Ask a Question
Related Manual Pages


Similar Questions

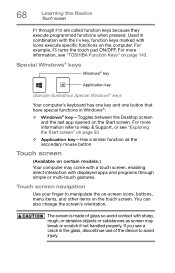
Problem With My Touch Screen
Hi,I have a Toshiba satellite c55t-c5300. The touch stopped working for a while now. I have tried ev...
Hi,I have a Toshiba satellite c55t-c5300. The touch stopped working for a while now. I have tried ev...
(Posted by richasiamah27 5 years ago)

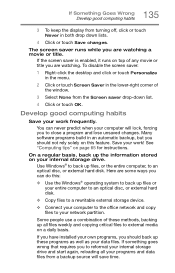
Hardware Problem No Detect Touch Screen Mode
I have been using my laptop, but sundenly the touch screen mode is not working, i reinstalled driver...
I have been using my laptop, but sundenly the touch screen mode is not working, i reinstalled driver...
(Posted by jjtafoya 6 years ago)

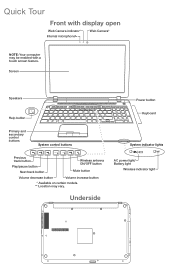
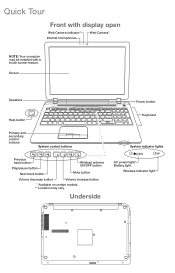
Unnable To Use Touch Screen On My New Toshiba Satellte P845t-s4102.
Jst bought it but the Touch and pen is unable at PC System: Pen and Touch: No pen oTouch Input is a...
Jst bought it but the Touch and pen is unable at PC System: Pen and Touch: No pen oTouch Input is a...
(Posted by ringopilot 10 years ago)